
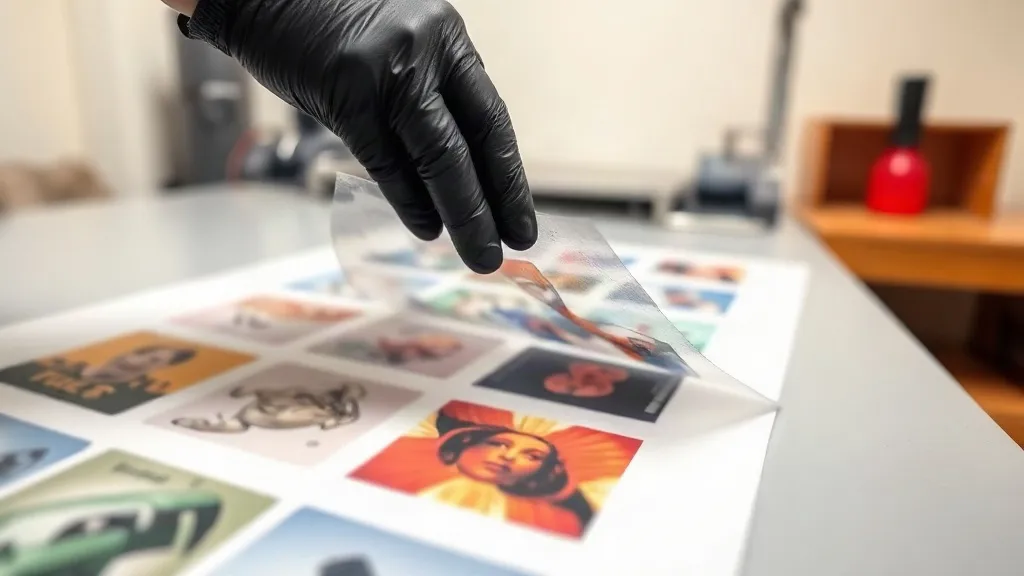
You have dialed in your DTF printer, your powder shaker is humming, and your press is at the perfect temperature. Yet somehow, a batch of transfers still comes out with banding, offset colors, or film that curls at the edges. If this sounds familiar, the problem likely isn't your equipment. It's the DTF Gangsheet itself. After producing thousands of sheets for shops of all sizes, I've seen the same five mistakes drain time, materials, and profit. The good news? Each one is fixable, often in minutes.
Mistake 1: Ignoring the Safe Margin Around the Sheet Edge
The outer edge of a gangsheet is a danger zone. Print heads need a clean path to lay down ink, and powder application gets uneven near the film border. When artwork sits too close to the edge, you risk smudged ink, weak adhesive, or film that lifts during curing. I've watched a full sheet of 40 transfers turn into scrap because the designer packed logos within 2 mm of the border.
How to fix it
Leave a minimum of 5 mm (about 0.2 inches) of blank film on all four sides. For smaller formats or older printers, bump that to 8 mm. This margin also gives the cutter a clean reference line if you trim sheets by hand. In your design software, set a visible guide at 5 mm and treat it like a hard boundary. If a client insists on maximizing yield, explain that a few extra millimeters of film cost pennies compared to a ruined sheet.
Mistake 2: Overlooking Ink Density and Color Profiles
DTF printing is not the same as printing on paper. Ink density that looks rich on screen can turn into muddy, crackled transfers after pressing. Many newcomers crank up saturation to make colors pop, only to find that the ink never fully cures or that the transfer feels stiff. The culprit is usually a mismatch between your design's color profile and the printer's expected input.
How to fix it
Start by converting all artwork to the printer's ICC profile (often supplied by your RIP software). Then run a small test strip at three density levels: low, medium, and high. Press each onto a scrap shirt and compare after a wash. You will quickly see which density gives the best balance of vibrancy and flexibility. For most setups, a medium density with a white underbase at 80 to 90 percent opacity works well. Also, avoid pure black (RGB 0,0,0) in large areas; a rich black built from CMYK holds up better and uses less ink.
Mistake 3: Skipping a Proper Nesting Strategy
Nesting is more than arranging images to fit. A poorly nested gangsheet creates wasted film, uneven powder distribution, and longer cutting times. I have seen sheets where large logos were placed at the top and tiny elements scattered below, forcing the operator to handle the sheet multiple times. This not only slows production but also increases the chance of smudging or creasing.
How to fix it
Group similar sizes together and orient them to minimize the bounding box. Place larger, heavier ink users toward the center of the sheet where heat and powder distribution are most consistent. Use your software's auto-nesting as a starting point, but manually adjust to create clean rows or columns. Leave at least 3 mm between elements to prevent ink bridging. If you produce recurring orders, save a template with your most common sizes pre-nested; it cuts prep time dramatically.
Mistake 4: Neglecting Film and Powder Compatibility
Not all DTF film and powder are created equal. Using a film with a low melting point alongside a coarse powder can lead to pinholes or poor adhesion. Conversely, a high-release film with fine powder may not hold enough adhesive for stretchy fabrics. I once tried a bargain film with my usual powder and ended up with transfers that peeled after two washes. The film was fine on its own, but the combination was wrong.
How to fix it
Stick to a film and powder pairing from the same manufacturer, or test combinations on a small scale before committing to a full roll. Check the film's recommended powder mesh size and curing temperature. For stretch fabrics, use a flexible powder and a film designed for high elasticity. Keep a log of what works: film brand, powder type, printer settings, and press conditions. This record becomes your insurance against future compatibility issues.
Mistake 5: Rushing the Curing and Powder Removal Steps
Even a perfectly prepared gangsheet can fail if the powder is not cured correctly. Under-curing leaves adhesive that clogs washing machines and peels in the dryer. Over-curing makes the transfer brittle and yellowed. The sweet spot depends on your powder and oven, but many operators guess instead of measure. I have seen shops set their oven to 320°F and walk away, only to return to a sheet that is partially melted.
How to fix it
Invest in an infrared thermometer and check the actual film temperature, not just the oven display. Cure until the powder turns from white to a clear, glossy finish, usually between 300°F and 320°F for 60 to 90 seconds. After curing, let the sheet cool completely before shaking off excess powder. Shaking while hot can smear the adhesive. Use a soft brush or a dedicated powder removal station to avoid scratching the film. Finally, store finished sheets flat in a dust-free area; stacking them while warm can cause sticking.
Frequently Asked Questions
How do I know if my DTF Gangsheet is too dense?
Press a small sample and stretch it gently. If the ink cracks or feels stiff, density is likely too high. Also check for a rubbery texture after washing; that indicates excess ink that did not cure properly.
Can I reuse a gangsheet layout for different orders?
Yes, but only if the sizes and quantities match. Save layouts as templates and adjust quantities as needed. Always double-check that the new order's artwork fits within the safe margins and that no elements overlap.
What is the best way to store unused gangsheets?
Keep them flat, away from direct sunlight, and in a cool, dry place. Humidity can cause the film to warp or the adhesive to become tacky. If you must stack them, place a sheet of clean paper between each to prevent sticking.
Why do my transfers peel after washing even when the powder looks cured?
Peeling often points to under-curing or insufficient pressure during pressing. Verify that your press applies even pressure across the entire transfer and that you follow the recommended temperature and time for the fabric type. Also, ensure the garment is completely dry before pressing.