
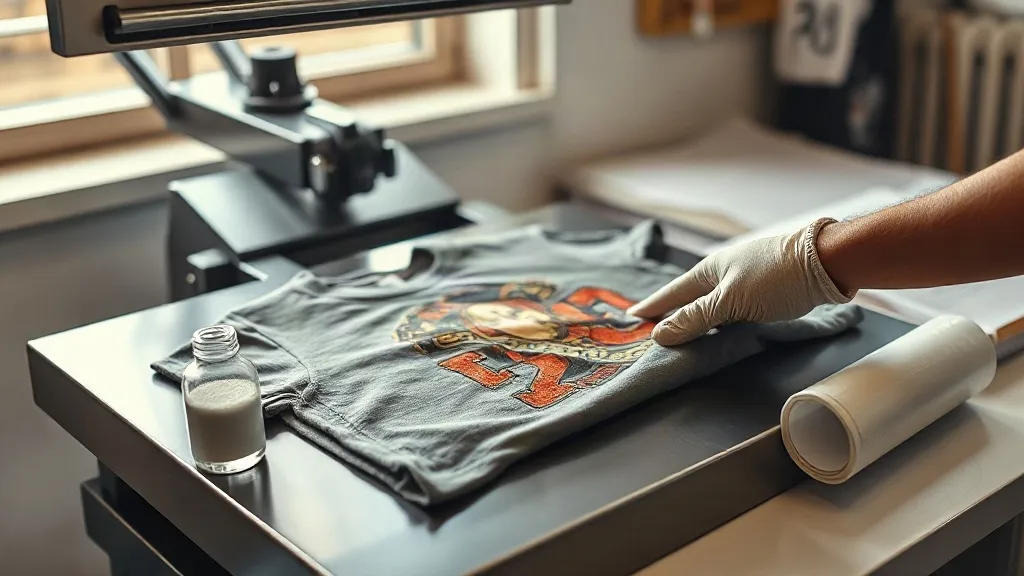
You pull a 50/50 poly-cotton tee from the press, peel the film, and the print looks perfect. Then the customer washes it once and the edges lift, or the design cracks along the shoulder seam. Blends are the most common substrate for custom apparel, yet they cause a disproportionate share of dtf transfers failures. The reason is simple: polyester and cotton behave differently under heat, and a blended fabric sits somewhere in between. Understanding that middle ground is the difference between a print that survives fifty washes and one that fails the first.
Why Blends Behave Differently Under Heat
Cotton absorbs moisture and tolerates higher temperatures without deforming. Polyester is thermoplastic: it softens, stretches, and can glaze or shrink when overheated. A 50/50 blend contains both fibers interwoven, so the fabric surface expands and contracts at different rates across the same square inch. When you press a dtf transfer onto that surface, the adhesive must bond to two materials with different surface energies and different thermal responses.
This is why a setting that works on 100% cotton can fail on a tri-blend. The polyester portion may reach its glass transition temperature while the cotton portion is still relatively cool, causing uneven adhesive flow. The result is partial adhesion: the print looks attached but is only anchored to the polyester fibers, leaving the cotton fibers free to shed the film during washing.
The fiber ratio matters more than the label
A 60/40 poly-cotton is not the same as a 50/50 or a 65/35. Higher polyester content means lower heat tolerance and more stretch. Tri-blends (poly-cotton-rayon) add rayon, which is highly absorbent and can swell during pressing, pushing moisture vapor through the adhesive layer. If you treat every blend as "cotton-like," you will get inconsistent results across your order.
Choosing the Right Powder for Blended Fabrics
Transfer powder is not a generic commodity. Adhesive powders differ in melt point, particle size, and flexibility. For blends, a lower-melt powder that flows at 160–170°C (320–340°F) is often safer than a high-melt powder designed for heavy cotton canvas. Lower melt means you can bond the adhesive without pushing the polyester into its deformation range.
Particle size also matters. Fine powders (around 80–120 microns) create a thinner, more flexible adhesive layer that moves with a stretchy blend. Coarser powders leave a thicker, stiffer film that can crack along high-stretch areas like shoulders and hems. If you print a lot of performance blends, test a fine, low-melt powder against your current stock and compare stretch recovery after three washes.
Shake, cure, and avoid over-powdering
Excess powder is a common cause of poor hand-feel and cracking on blends. After shaking the wet print, tilt the film and tap off the excess. Cure the powder until it loses its sandy texture and becomes a smooth, matte layer. Under-cured powder will not bond to the fabric; over-cured powder becomes brittle and will not stretch. A infrared thermometer or a few test presses will tell you more than any label.
Heat Press Settings That Work on Blends
There is no universal setting, but there is a reliable starting point. For most 50/50 and tri-blend shirts, begin at 150–160°C (300–320°F) with medium pressure (around 40–60 PSI) for 10–15 seconds. Peel warm or cold, depending on the film manufacturer's instructions. Then post-press the finished print through a cover sheet for 5–8 seconds to lock the adhesive into the fabric weave.
Pressure is where many shops go wrong. Too little pressure and the adhesive never contacts the fibers; too much pressure and you flatten the fabric, push adhesive into the shirt, and create a stiff, crack-prone print. Use a pressure that compresses the shirt slightly without leaving a hard edge around the transfer. If you can see a sharp indentation in the fabric, back off.
Pre-press is not optional
Blends often carry moisture from storage or manufacturing. Pre-pressing the garment for 5–7 seconds removes that moisture and smooths the surface. Skipping this step traps steam under the transfer, which creates bubbles, weak adhesion, and a hazy finish. It takes seconds and prevents most of the wash failures that show up days later.
Stretch, Recovery, and the Wash Test
Blended fabrics stretch more than 100% cotton, especially in athletic and fashion cuts. A print that passes a static peel test can still fail when the shirt is pulled over a head or stretched across a chest. The adhesive layer must stretch with the fabric and recover without cracking. This is where film choice, powder choice, and press settings converge.
Run a simple wash test before committing a full order. Print a sample, wait 24 hours, then wash it inside out in warm water and tumble dry low. Repeat three times. Check the edges, the seams, and any high-stretch areas. If you see lifting, cracking, or a chalky haze, adjust one variable at a time: temperature first, then pressure, then powder. Changing everything at once tells you nothing.
When to use a cover sheet
A cover sheet (or protective paper) during post-pressing distributes heat evenly and prevents the film from sticking to the upper platen. On blends, it also reduces the risk of glazing the polyester fibers. Keep a dedicated cover sheet for DTF and replace it when it becomes shiny or stained, because residue can transfer onto the next print.
Finding Reliable Supplies and Local Help
Consistency starts with consistent materials. If you source film, powder, and ink from different vendors, you introduce variables that are hard to isolate when something fails. Buy from a supplier who can tell you the melt point of their powder and the recommended press window for their film. If you are searching for dtf transfers near me, check whether the provider offers sample packs and technical guidance, not just finished transfers. A supplier who understands blends will save you more money than a slightly cheaper roll of film.
For shops that outsource, ask your transfer provider what fabric they tested their product on. A transfer that works on 100% cotton may not be formulated for a 65/35 poly-cotton. The best providers will tell you the limits of their product, and that honesty is worth more than a marketing claim.
Building a Repeatable Blend Workflow
Once you find a setting that works, write it down and stick to it. Label your powder and film with the date and batch. Keep a log of fabric type, fiber ratio, press temperature, pressure, and time for every job. When a failure appears, you can trace it back to a specific variable instead of guessing. This is how small shops move from occasional success to reliable output.
Blends are not harder than cotton; they are less forgiving of assumptions. Treat each fabric as its own material, test before you commit, and let the wash test be your final judge. Do that, and your dtf transfers will hold up on the shirts your customers actually wear.
Frequently Asked Questions
Can I use DTF transfers on 100% polyester shirts?
Yes, but you need lower heat and lighter pressure than cotton. Polyester can glaze or shrink above 160°C, so start at 140–150°C, use medium pressure, and peel cold. Always pre-test on a scrap piece of the same fabric.
Why do my DTF prints crack on tri-blend shirts?
Tri-blends contain rayon, which absorbs moisture and stretches more than cotton. Cracking usually comes from under-cured powder, too much pressure, or a thick adhesive layer that cannot move with the fabric. Use a fine, low-melt powder, pre-press the garment, and post-press through a cover sheet.
How long should I wait before washing a DTF print?
Wait at least 24 hours after pressing. The adhesive continues to cure and bond to the fibers during that time. Washing immediately can interrupt the bond and cause premature lifting, especially on blends.
Do I need a different powder for cotton and poly-cotton blends?
Not always, but a low-melt fine powder gives you more margin on blends. High-melt powders designed for heavy cotton can require temperatures that deform polyester. If you print both, keep two powders on hand and label them clearly.
What is the best way to store DTF transfers before pressing?
Keep them flat, dry, and away from direct heat. Humidity can soften the adhesive and cause the film to curl. Store in a sealed bag or a cool drawer, and bring them to room temperature before pressing to avoid condensation under the film.