
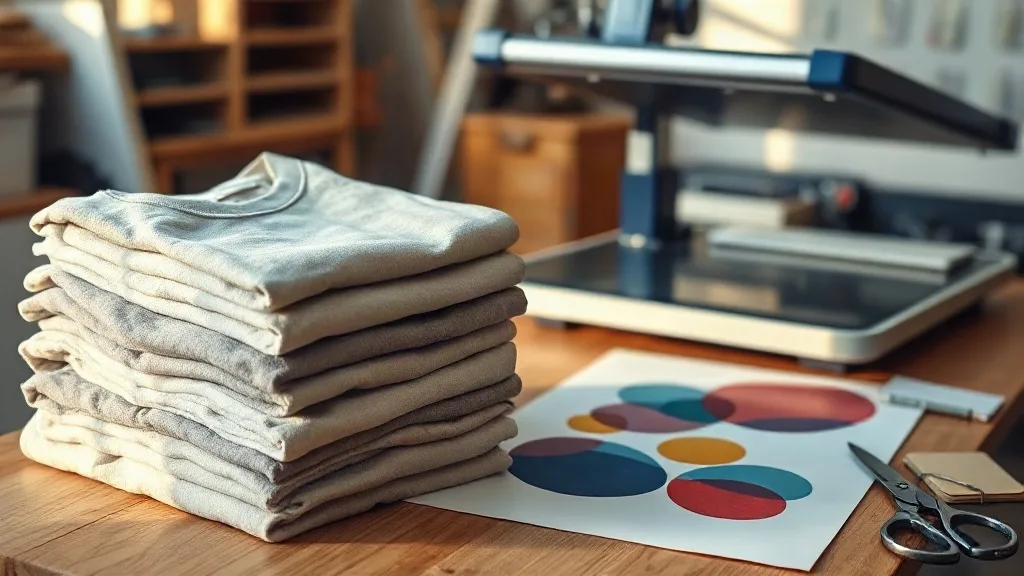
Most print shops learn the hard way that a great transfer on the wrong blank is a waste of time. I have pressed enough jobs to know the frustration of a design that looks crisp on the screen and then cracks after two washes because the blank fought the film the whole way. That is exactly why the combination of shaka wear blanks and DTF transfer printing has become a quiet favorite in small shops like ours. The fabric behaves predictably, the price leaves room for margin, and the finished piece feels like something a customer will actually wear instead of stuff in a drawer.
This guide is not a sales pitch. It is the working knowledge we have gathered from pressing hundreds of shirts, fixing botched orders and figuring out which settings hold up after repeated laundering. If you print for local teams, streetwear drops or family reunions, the details below will save you a few ruined blanks and a lot of reprints.
Why Shaka Wear Blanks Fit DTF So Well
Shaka Wear built its reputation on heavyweight, boxy basics that appeal to streetwear buyers and bulk buyers alike. That same construction is what makes the blanks friendly to direct-to-film transfers. The cotton is dense, the surface is smooth, and the weave does not have the loose, fuzzy texture that swallows adhesive powder and leaves transfers looking grainy.
There is a practical angle too. When a blank costs less, you can afford to test a new design, offer a small batch to a local band or run a limited colorway without gambling too much on unsold inventory. The heavyweight feel also means the shirt does not go translucent under bright stage lights or stretch thin across the chest after a few wears.
Fabric Types You Will Encounter
Shaka Wear offers several fabric blends, and each one presses a little differently. Knowing the difference before you load the platen saves you from surprises.
- 100% cotton heavyweight tees: The most forgiving option. Transfers bond cleanly at moderate pressure, and the hand feel stays soft after washing.
- Cotton and polyester blends: These press well but need slightly lower temperature to avoid scorching the polyester fibers. Keep an eye on shine around the collar.
- Ring-spun and combed cotton: Smoother surface, excellent detail reproduction. Small text and fine lines stay readable.
- Fleece and hoodies: Possible with DTF, but you need more pressure and a longer dwell time because the surface is uneven.
If you are unsure which blank to start with, order a sample pack of a few styles and press the same small test design on each. Label the results and keep them on a pegboard near the press. New employees will thank you.
Planning a Gang Sheet Around Your Shirt Orders
Here is where a lot of small shops leave money on the table. Printing one design at a time wastes film and press time. Building a consolidated sheet of multiple designs lets you fill the space efficiently and cut down on material costs per shirt. A DTF Gangsheet Builder removes the guesswork from that process by letting you arrange artwork to fit the film size you plan to run.
Our routine is simple. We collect all the designs for the week, group them by color profile and film size, then lay them out with a small gap between each piece. Trimming becomes faster, and we waste far less film than when we printed jobs individually. On a busy Friday, that difference is the reason we finish before the courier arrives.
Layout Habits That Pay Off
- Group similar colors together so the printer does not spend extra time switching profiles.
- Leave at least a few millimeters between designs; crowded layouts make trimming sloppy.
- Place larger designs on the edges and smaller ones in the gaps.
- Add a small test square in an unused corner to check color accuracy before pressing the full run.
- Keep a note of the film size and layout for repeat orders; the next batch will be faster.
One more tip that took us months to learn: build your sheet with the shirt size in mind. A design that looks balanced on a medium chest may crowd the platen on an extra small. Test on the smallest size first; if it works there, it will work everywhere else.
Press Settings That Actually Hold Up
Every shop develops its own ritual, but the underlying rules are consistent. Pre-press the shirt for a few seconds to remove moisture and wrinkles. Position the transfer with the printed side facing up, cover with a protective sheet, and press with firm, even pressure. Peel according to the film type, either hot or cold, and then do a second short press to lock the edges.
Temperature and time vary depending on the film and the blank, so always check the manufacturer's recommendation. What matters most is consistency. Write your settings on a card and tape it to the press. When a new employee runs a batch, they follow the card instead of guessing. We have seen more failed transfers from inconsistent pressure than from any other cause.
Cooling and Curing
Let the shirt cool completely before folding or stacking. Stacking warm shirts traps heat and can cause the transfer to shift or develop a crease. Give each piece a moment on a rack. It feels slow at first, but it prevents a whole class of defects that customers notice immediately.
Durability Testing Before You Ship
We wash one shirt from every new batch before delivering the order. It sounds excessive, but it catches problems early. A simple wash and dry cycle reveals whether the transfer holds its edges, whether the color bleeds and whether the shirt shrinks in a way that distorts the design. If the test shirt survives, the rest of the batch almost always does too.
Keep a small log of the results: blank style, film brand, press temperature, dwell time and outcome. Over a few months, that log becomes your most reliable reference. It also gives you concrete answers when a customer asks how the print will hold up.
Design Considerations for Heavyweight Blanks
Heavyweight cotton has a lot of surface area, and designs that look great on a screen can feel heavy on the shirt. Simple, bold graphics tend to work best. Fine gradients and very thin lines can be reproduced, but they require a cleaner press and a smoother blank. If you are printing on a darker color, a white underbase in the film will keep colors vibrant and prevent the shirt color from muddying the design.
Placement matters too. Streetwear buyers often expect a small chest hit or a large back print. Take a moment to measure the collar-to-print distance and keep it consistent across sizes. Consistency is what makes a small brand look professional.
Frequently Asked Questions
Do DTF transfers work on every Shaka Wear style?
They work on the vast majority of cotton and cotton-blend styles, but fleece and heavily textured fabrics need more pressure and a longer dwell time. Always run a small test on a scrap or a single shirt before committing to a full batch.
How do I build a gang sheet for a mixed size order?
Group designs by film size and color profile, then place the smallest items in the gaps around larger ones. Leave a few millimeters between each piece for clean trimming and include a small test square to check color accuracy before pressing.
How many washes should a DTF print survive?
A properly pressed transfer on a compatible blank should hold up through many home wash cycles, though results depend on film quality, press settings and care instructions. Washing inside out in cold water and avoiding high dryer heat will extend the life of the print.
Can I press DTF transfers onto colored shirts without a white underbase?
You can, but the shirt color will show through the design and shift the final tone. For vibrant or light-colored artwork on dark blanks, include a white underbase in the film so the colors stay accurate.
What is the biggest mistake new shops make with DTF?
Inconsistent pressure and skipping the pre-press step. Pre-pressing removes moisture and wrinkles, and even pressure ensures the adhesive bonds fully. A written settings card and a quick test shirt prevent most of the problems we see.