
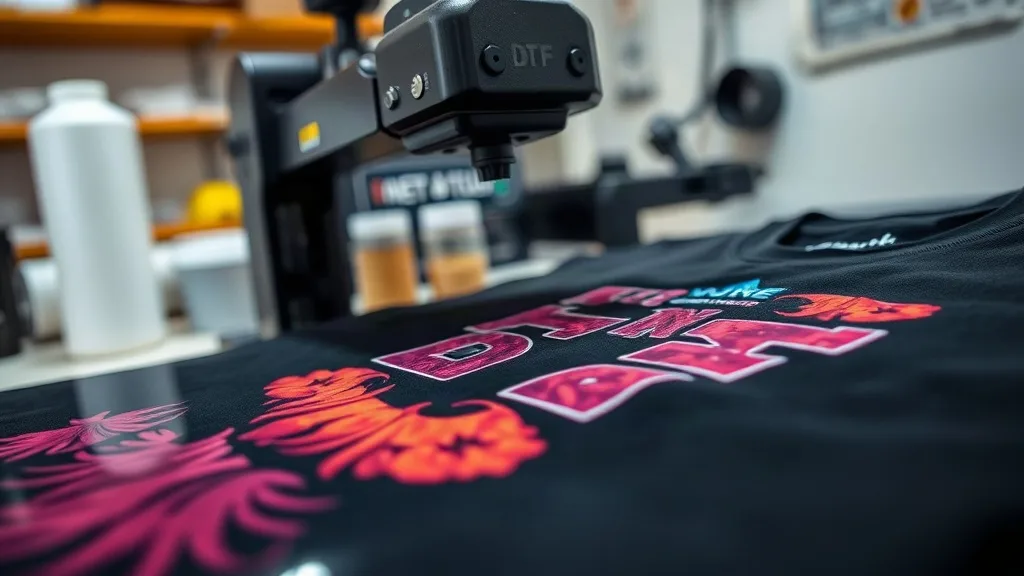
If you've been exploring custom apparel printing, you've likely heard about dtf transfers. This method has revolutionized the way small businesses and hobbyists approach fabric printing, offering vibrant colors and durability without the complexity of traditional screen printing. Whether you're a seasoned crafter or just starting, understanding the ins and outs of DTF can save you time and money while delivering professional results.
In this guide, we'll walk you through the entire DTF process, from selecting the right materials to pressing techniques that ensure your designs last. We'll also share common pitfalls and how to avoid them, so you can achieve flawless prints every time.
What Are DTF Transfers?
DTF stands for Direct to Film. It's a printing technology where your design is printed onto a special film, coated with adhesive powder, and then heat-pressed onto fabric. Unlike DTG (Direct to Garment) printing, which requires pre-treatment and works best on cotton, DTF can be used on a wide range of materials, including polyester, blends, and even dark fabrics.
The process involves several steps: printing the design onto PET film with special ink, applying a hot melt powder while the ink is still wet, melting the powder, and finally transferring the design onto the fabric using a heat press. The result is a soft, stretchable print that adheres well and withstands repeated washing.
Why Choose DTF?
There are several reasons why DTF has become a favorite among print shops and DIY enthusiasts:
- Versatility: Works on almost any fabric, including cotton, polyester, nylon, and blends.
- No pre-treatment: Unlike DTG, DTF doesn't require pre-treating the garment, saving time and mess.
- Vibrant colors: DTF prints can achieve bright, opaque colors even on dark shirts.
- Durability: When applied correctly, DTF prints resist cracking, peeling, and fading.
- Cost-effective for small batches: Ideal for short runs and one-off designs without the setup costs of screen printing.
Getting Started: Materials and Equipment
To begin with dtf printing, you'll need a few key supplies:
- DTF printer: A dedicated DTF printer with white ink capability is essential. These printers use special DTF ink.
- PET film: This is the medium onto which the design is printed. It comes in sheets or rolls and has a coated side for ink reception.
- Hot melt powder: This adhesive powder is applied to the wet ink and melted to create a bond.
- Heat press: A reliable heat press is crucial for transferring the design onto fabric.
- Design software: Any graphic design software (like Photoshop, Illustrator, or even free tools like Canva) can be used to prepare your artwork.
When sourcing supplies, look for reputable suppliers who offer quality materials. If you're searching for dtf transfers near me, you can find local distributors or online stores that ship quickly.
Step-by-Step DTF Transfer Process
1. Preparing Your Design
Start by creating or selecting your design. Ensure it's high resolution (at least 300 DPI) and sized appropriately for your garment. Remember that DTF prints are opaque, so you don't need to worry about background colors. However, if your design has white areas, the printer will use white ink to create a base, so those areas will be printed with white ink.
Mirror your design horizontally before printing. This is crucial because the film will be flipped when pressed onto the fabric.
2. Printing onto PET Film
Load the PET film into your DTF printer, ensuring the coated side is facing the print head. Send your mirrored design to the printer. The printer will lay down a layer of white ink first (if needed) followed by the color inks. The white ink acts as a base to make colors pop on dark fabrics.
Allow the print to dry slightly before applying powder. The ink should be tacky but not wet to the touch.
3. Applying Hot Melt Powder
Sprinkle the hot melt powder evenly over the wet ink. You can use a powder shaker for better control. Gently shake off excess powder, ensuring an even coating. Too much powder can lead to a stiff print, while too little may cause poor adhesion.
Tap the film to remove excess powder, then place it in a curing oven or under a heat source to melt the powder. The powder should turn glossy and melt into the ink. This usually takes about 2-3 minutes at 160°C (320°F).
4. Pressing the Transfer
Set your heat press to the recommended temperature for your fabric (usually around 150-160°C or 300-320°F). Place the garment on the press, then position the transfer film on top with the design facing up. Cover with a protective sheet or parchment paper.
Press with medium pressure for 10-15 seconds. Peel the film while it's still hot (hot peel) or after it cools (cold peel), depending on the film type. Most DTF films are hot peel, but always check the manufacturer's instructions.
5. Post-Pressing
After peeling, you may want to press the design again for a few seconds with a protective sheet to ensure maximum adhesion. This step is optional but can improve durability.
Common Mistakes and How to Avoid Them
Even experienced printers can run into issues. Here are some common pitfalls and solutions:
- Insufficient powder: If the powder isn't enough, the design may not adhere properly. Ensure even coverage and shake off excess gently.
- Too much pressure: Excessive pressure can cause the ink to spread, leading to a blurred image. Use medium pressure.
- Wrong temperature: Always check the fabric and film specifications. Too hot can scorch the fabric; too cold can result in poor adhesion.
- Peeling too early or too late: Follow the film's instructions for hot vs. cold peel. Peeling at the wrong time can ruin the transfer.
- Ignoring fabric type: Some fabrics, like nylon, may require lower temperatures. Always test on a scrap first.
Choosing the Right DTF Supplies
The quality of your supplies greatly affects the final outcome. Here's what to look for:
DTF Printer
Invest in a printer designed for DTF. Brands like Epson and Roland offer models with white ink circulation systems to prevent clogging. Regular maintenance is key to longevity.
PET Film
Choose film that matches your printer and application. There are films for hot peel and cold peel, as well as different thicknesses. Thicker films may be more durable but can feel stiffer.
Hot Melt Powder
Use high-quality powder designed for DTF. Cheap powders may not melt evenly or may yellow over time. Store in a dry place to prevent clumping.
Heat Press
A heat press with accurate temperature and pressure control is essential. Clamshell presses are common, but swing-away presses offer more even pressure. Ensure the platen is large enough for your designs.
DTF vs. Other Printing Methods
How does DTF stack up against other popular methods?
- DTF vs. DTG: DTF works on more fabrics and doesn't require pre-treatment, but DTG can be softer on cotton.
- DTF vs. Screen Printing: Screen printing is more cost-effective for large orders but has setup costs. DTF is better for small batches and complex designs.
- DTF vs. Vinyl: Vinyl is limited to simple designs and can feel heavy. DTF allows full-color, detailed prints with a softer feel.
Frequently Asked Questions
How long do DTF transfers last?
With proper application and care, DTF transfers can last as long as the garment. They resist cracking and fading for 50+ washes when washed inside out in cold water and tumble dried low.
Can I use DTF on 100% polyester?
Yes, DTF works well on polyester, but you may need to adjust temperature and pressure to avoid scorching. Always test on a scrap first.
Do I need a special printer for DTF?
Yes, a DTF printer with white ink capability is required. Converting a regular printer is not recommended due to ink circulation and maintenance needs.
What is the best way to store DTF transfers?
Store unused transfers in a cool, dry place away from direct sunlight. Keep them flat to prevent creasing. Use within a few months for best results.
Can I use DTF on dark shirts?
Absolutely. DTF uses a white ink base that makes colors pop on dark fabrics. It's one of the best methods for dark garments.