
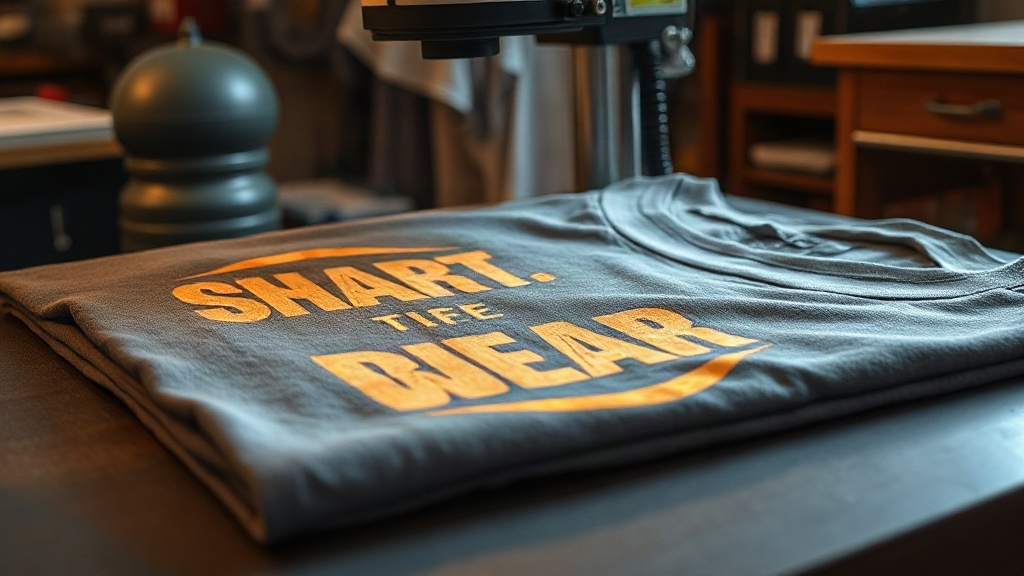
When you first try DTF transfers on Shaka Wear and Smart Blanks, you quickly realize these aren't your average blanks. Both brands have a dedicated following among screen printers and decorators, and for good reason: they offer consistent quality, a wide range of colors, and fits that customers actually ask for. But applying DTF transfers to them requires a bit of know-how. I've spent the last three years pressing DTF onto thousands of garments, and I've made my share of mistakes. In this guide, I'll share what I've learned so you can get vibrant, long-lasting results from the first press.
Why Shaka Wear and Smart Blanks Are Popular for DTF
Shaka Wear has built a reputation for heavyweight, durable tees that hold their shape wash after wash. Their 7.5 oz cotton shirts are a go-to for streetwear brands and anyone who wants a premium feel. Smart Blanks, on the other hand, are known for their soft, ringspun cotton and consistent sizing, making them a favorite for retail and promotional work. Both take DTF transfers well because they're made from 100% cotton or high-cotton blends, which provide a smooth surface for the adhesive to bond to.
But not all fabrics are equal. Shaka Wear's heavier cotton can absorb more heat, so you might need to adjust your press settings. Smart Blanks' softer hand means you have to be careful not to scorch the fabric. I'll cover the specifics later, but the key takeaway is this: these blanks are DTF-friendly, but they demand respect.
Understanding DTF Transfers: A Quick Refresher
If you're new to DTF, here's the short version: DTF (direct-to-film) transfers are printed on a special PET film using a DTF printer, then coated with a hot-melt adhesive powder. When you press the transfer onto a garment, the adhesive melts and bonds the ink to the fabric. The result is a soft, stretchable print that can handle intricate details and full-color images without the setup costs of screen printing.
Unlike vinyl or screen printing, DTF works on a wide range of fabrics, including cotton, polyester, and blends. That versatility is why it's become so popular for decorating Shaka Wear and Smart Blanks. However, each fabric type requires slightly different pressing parameters. Let's dive into those.
Preparing Your Shaka Wear and Smart Blanks for DTF
Before you even think about pressing, you need to prep the garment. Any moisture, wrinkles, or debris can ruin the adhesion. Here's my routine:
- Pre-press the garment: Give it a quick press for 5-10 seconds at your intended application temperature. This removes moisture and wrinkles, and it also pre-shrinks the fabric slightly. For Shaka Wear, I pre-press at 325°F (163°C) for 7 seconds. For Smart Blanks, I drop it to 300°F (149°C) for 5 seconds to avoid scorching.
- Lint roll: Even new garments can have lint or dust. A quick once-over with a lint roller ensures nothing interferes with the adhesive.
- Check for sizing: Some blanks come with a sizing agent that can repel the adhesive. If you notice poor adhesion, try washing the garment first (without fabric softener) and drying it completely.
I learned the hard way that skipping pre-pressing leads to peeling prints. Don't make that mistake.
Setting Up Your Heat Press for DTF
Your heat press is your most important tool. For DTF, you need consistent temperature, pressure, and time. Here are my starting points for Shaka Wear and Smart Blanks:
Temperature
Most DTF adhesives activate between 300°F and 325°F (149°C to 163°C). For Shaka Wear's heavier cotton, I set my press to 325°F. The extra heat penetrates the thicker fabric and ensures a strong bond. For Smart Blanks, I use 300°F to 310°F. Their softer cotton can scorch at higher temperatures, leaving a yellow tint.
Pressure
You want medium to firm pressure. Too little pressure and the adhesive won't fully contact the fabric; too much and the ink can spread, causing a blurry print. I aim for a pressure that feels like a firm handshake. If your press has a gauge, aim for 40-60 PSI. On a manual press, adjust the knob until you feel resistance but can still close it with moderate effort.
Time
Press time varies with temperature. At 325°F, I press for 15 seconds. At 300°F, I extend to 20 seconds. Always follow the adhesive manufacturer's recommendations, but these times work well for the blanks mentioned.
Step-by-Step DTF Application on Shaka Wear
Let's walk through the process for Shaka Wear. I'll use a 7.5 oz heavyweight tee as an example.
- Pre-press: 325°F for 7 seconds to remove moisture.
- Position the transfer: Place the DTF transfer on the shirt with the adhesive side down. If you're using a transfer with a carrier film, make sure the printed side is facing up.
- Press: Close the press with medium-firm pressure for 15 seconds.
- Peel: Wait 10-15 seconds for the transfer to cool slightly, then peel the film off in a smooth, steady motion. If you peel too hot, the adhesive may string; too cold, and it might crack. I find that a warm peel (about 10 seconds after opening) works best for Shaka Wear.
- Post-press: For extra durability, cover the print with a Teflon sheet or parchment paper and press again for 5-10 seconds. This helps the adhesive fully cure.
One thing I've noticed: Shaka Wear's heavier fabric can sometimes cause the transfer to sit on top rather than sink in. That's normal and actually desirable for DTF, as it gives a slightly raised, vibrant print. Just make sure the edges are well bonded.
Step-by-Step DTF Application on Smart Blanks
Now for Smart Blanks. Their softer cotton requires a gentler touch.
- Pre-press: 300°F for 5 seconds. This is crucial to avoid scorching.
- Position the transfer: Same as before, adhesive side down.
- Press: 300°F for 20 seconds with medium pressure.
- Peel: Wait until the transfer is completely cool (about 30 seconds) before peeling. Smart Blanks' fabric is more delicate, and a hot peel can distort the print or stretch the fabric. A cold peel ensures clean edges.
- Post-press: Cover and press for 5 seconds at 300°F to set the adhesive.
I've found that Smart Blanks take DTF transfers beautifully, with a soft hand and excellent detail. Just be patient with the cool peel.
Common Mistakes to Avoid
Even experienced printers slip up. Here are the most common pitfalls I've seen (and made) when working with DTF transfers on Shaka Wear and Smart Blanks:
- Skipping pre-press: Moisture is the enemy of adhesion. Always pre-press.
- Using too much pressure: This can cause the adhesive to bleed, resulting in a halo around the print.
- Peeling too soon or too late: Each fabric has its sweet spot. For Shaka Wear, warm peel; for Smart Blanks, cool peel.
- Not post-pressing: A final press ensures the adhesive is fully cured and the print withstands washing.
- Ignoring fabric blends: If your Shaka Wear or Smart Blanks garment is a blend (e.g., 50/50), reduce temperature by 10-15°F to prevent dye migration. Polyester can bleed into the print.
I once ruined a batch of Smart Blanks by pressing at 325°F. The shirts turned yellow and the prints looked faded. Lesson learned: always test on a scrap garment first.
Washing and Care Tips for DTF-Printed Apparel
To keep your DTF prints looking fresh, share these care instructions with your customers:
- Wait 24 hours before washing.
- Turn the garment inside out.
- Machine wash cold with mild detergent.
- Avoid fabric softener and bleach.
- Tumble dry low or hang dry.
- Do not iron directly on the print.
Following these steps, a well-applied DTF transfer on Shaka Wear or Smart Blanks can last 50+ washes without cracking or fading.
Frequently Asked Questions
Can I use DTF transfers on 50/50 blends like some Shaka Wear styles?
Yes, but you need to adjust your settings. Lower the temperature to 300°F and reduce pressure slightly. Also, pre-press for a few seconds to remove moisture, and consider using a low-bleed DTF film if you're printing on dark polyester blends to prevent dye migration.
How do I prevent scorching on Smart Blanks?
Keep your press temperature at or below 310°F and always use a Teflon sheet or parchment paper between the press and the garment. Pre-pressing at a lower temperature also helps. If you notice a slight yellowing, you can try to reverse it by pressing with a damp cloth, but prevention is key.
What's the best way to store unused DTF transfers?
Store them in a cool, dry place away from direct sunlight. Keep them in a sealed bag or container to prevent dust and moisture from affecting the adhesive. Properly stored, DTF transfers can last up to 6 months.
Do I need a special printer for DTF transfers?
Yes, DTF requires a dedicated DTF printer that uses pigment inks and prints onto PET film. You also need a shaker machine for applying adhesive powder and a heat press for curing. However, you can buy pre-made DTF transfers from suppliers if you don't want to invest in the equipment.
How can I tell if my DTF transfer is properly bonded?
After peeling, inspect the edges. They should be smooth and fully adhered to the fabric. Gently stretch the print; it should stretch with the fabric without cracking or lifting. If you see any lifting, re-press for a few more seconds.
With these tips, you're ready to tackle DTF transfers on Shaka Wear and Smart Blanks like a pro. Remember, practice makes perfect, so don't be afraid to experiment on scrap garments. Happy pressing!