
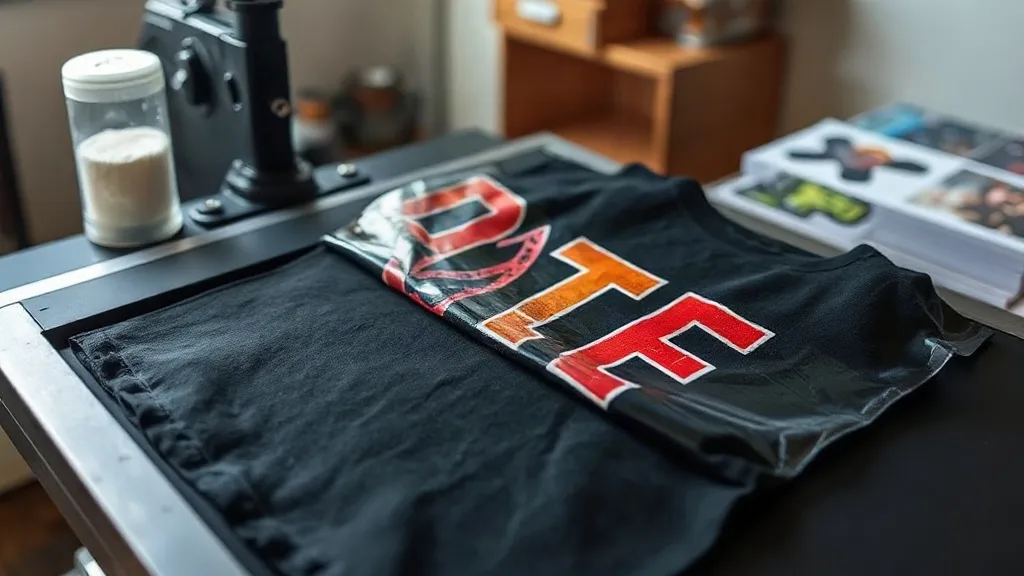
You've dialed in your dtf transfers process: the printer is humming, the powder shaker is calibrated, and your press settings are locked in. Then a print peels, cracks, or comes out with dull colors. It happens to every shop, even the ones that have been running dtf for years. The difference between a frustrating day and a smooth one is knowing how to diagnose the problem quickly. This guide covers the most common DTF transfer issues, from adhesion failures to color shifts, and gives you practical steps to get back on track. Whether you're printing for yourself or offering dtf transfers near me services to local customers, these fixes will save you film, powder, and time.
Why DTF Prints Fail: The Usual Suspects
Before we dive into specific problems, it helps to understand the common root causes. DTF is a multi-step process, and a failure at any stage can show up later. The usual suspects include:
- Moisture: Film, powder, and fabric all absorb humidity. Excess moisture interferes with ink curing and powder melting.
- Temperature and pressure: Inconsistent press settings lead to poor adhesion or over-curing.
- Powder application: Too much or too little powder causes rough textures or weak bonds.
- Ink quality and print settings: Old ink, clogged nozzles, or wrong ICC profiles affect color and detail.
- Fabric composition: Different fibers react differently to heat and adhesive.
Keeping a log of your settings and environmental conditions helps you spot patterns. When a problem appears, you can trace it back to a recent change.
Problem 1: Print Peels or Lifts After Pressing
You press the transfer, let it cool, and the design lifts at the edges or comes off entirely. This is one of the most common complaints, especially for those new to dtf.
Causes and Fixes
- Insufficient pressure: DTF requires firm, even pressure to bond the adhesive to the fabric. Check your press and adjust pressure so the transfer is pressed firmly into the garment. A good test is to press a transfer and inspect the fabric weave; it should show a slight imprint.
- Wrong temperature: Too low, and the adhesive won't activate; too high, and it can scorch or degrade. Typical press temperatures range from 300°F to 320°F (150°C to 160°C), but always follow the transfer supplier's recommendations.
- Pressing time too short: Most transfers need 10-15 seconds. If you're rushing, increase the time slightly.
- Fabric not pre-pressed: Moisture in the fabric can create steam that prevents proper adhesion. Pre-press the garment for 5-10 seconds to remove wrinkles and moisture.
- Cool peel vs. hot peel: Some transfers require cooling before peeling. Peeling too soon can cause the design to lift. Check your transfer type and follow the instructions.
If the print still peels, try a second press with a Teflon sheet or parchment paper for an extra 5 seconds. This can help the adhesive flow into the fabric.
Problem 2: Colors Look Dull or Washed Out
You print a vibrant design, but after pressing, the colors seem faded or muted. This is frustrating, especially when you're trying to deliver professional results.
Causes and Fixes
- Incorrect ICC profiles: Your printer's color profile may not match the ink and film combination. Calibrate your monitor and use the correct ICC profile for your printer and ink set. If you haven't created a custom profile, consider investing in one.
- Ink starvation: Clogged nozzles or low ink levels can cause weak color output. Run a nozzle check and clean the printhead if needed.
- Over-pressing: Excessive heat can cause the ink to fade or the white layer to become translucent. Reduce temperature or time slightly.
- Powder issues: Too much powder can scatter light and make colors appear dull. Shake off excess powder gently before curing.
- Fabric color show-through: On dark garments, the white ink layer must be opaque enough. If the white layer is too thin, the fabric color will affect the final look. Increase white ink density or apply two passes.
Always do a test print on the actual fabric you'll be using. What looks good on screen may not translate to the garment.
Problem 3: Cracking or Peeling After Washing
The print looked great out of the press, but after a few washes, it starts to crack or peel. This usually indicates a problem with adhesion or ink flexibility.
Causes and Fixes
- Under-cured ink: If the ink isn't fully cured before powder application, the print will be weak. Ensure your printer's curing settings are correct and that the ink is dry to the touch before powdering.
- Insufficient powder: Too little powder means the adhesive layer is too thin. Apply a generous, even coat of powder and shake off excess.
- Over-stretching during pressing: If you stretch the fabric while pressing, the print may crack when relaxed. Press with minimal tension.
- Wrong wash instructions: Customers should wash garments inside out in cold water and avoid harsh detergents. Provide care instructions with your products.
- Fabric type: Some fabrics, like those with high spandex content, are challenging for DTF. Use a stretchable transfer or blend to improve durability.
If cracking is a recurring issue, review your entire process from printing to pressing. A small adjustment can make a big difference.
Problem 4: Powder Not Sticking or Excess Powder
Powder application is a critical step. If the powder doesn't stick properly, the transfer will fail. Conversely, excess powder creates a rough, textured feel.
Causes and Fixes
- Moisture in the film: Damp film repels powder. Store film in a dry environment and use a dehumidifier if necessary.
- Ink not tacky enough: The ink must be slightly tacky for powder to adhere. If the ink is too dry, powder won't stick. Adjust your printer's ink density or curing time.
- Powder application technique: Use a powder shaker or a scoop to apply an even layer. Gently shake the film to distribute powder, then tap off excess.
- Powder quality: Old or clumpy powder doesn't adhere well. Store powder in an airtight container and replace if it becomes lumpy.
Invest in a powder shaker with a fine mesh screen for consistent application. It's a small investment that pays off in fewer rejects.
Problem 5: White Ink Layer Looks Grainy or Patchy
The white ink layer is what makes DTF prints pop on dark fabrics. If it's grainy or patchy, the final print will look unprofessional.
Causes and Fixes
- Clogged white ink nozzles: White ink is prone to settling. Agitate the ink cartridge or bag daily and run a nozzle check before each print session.
- Low white ink density: Increase the number of white ink passes in your RIP software. Two passes are standard, but you may need three for dark garments.
- Incorrect curing: If the white ink isn't cured properly, it can appear patchy. Ensure the film is completely dry before powdering.
- Powder contamination: If colored powder from previous jobs contaminates the white powder, it can cause discoloration. Keep powders separate and clean your workspace.
Regular maintenance is key. Flush the white ink lines weekly and store the printer properly.
Prevention: Building a Reliable DTF Process
The best way to troubleshoot is to prevent issues before they happen. Here are some habits that keep your DTF operation running smoothly:
- Maintain consistent environmental conditions: Aim for 60-70°F and 40-60% relative humidity. Use a hygrometer to monitor.
- Keep a log: Record settings, ink lot numbers, and environmental data for each job. This helps you trace problems.
- Regular maintenance: Clean printheads, check powder quality, and calibrate your press.
- Test prints: Always do a test print on the actual fabric before a large run.
- Train your team: Ensure everyone follows the same procedures and knows how to spot early signs of trouble.
By staying proactive, you'll spend less time fixing problems and more time fulfilling orders.
Frequently Asked Questions
Why does my DTF transfer peel after washing even though it looked fine after pressing?
This usually points to under-curing or insufficient pressure during pressing. The adhesive may not have fully bonded to the fabric. Try increasing pressure and ensuring the transfer is pressed for the full recommended time. Also, check that the fabric is pre-pressed to remove moisture.
How can I fix dull colors on my DTF prints?
Start by running a nozzle check and cleaning the printhead. Then verify your ICC profile is correct for your ink and film. Over-pressing can also cause fading, so try reducing temperature slightly. Finally, ensure the white ink layer is opaque enough; adding an extra white pass can help.
What causes excess powder on DTF transfers?
Excess powder often comes from applying too much or not shaking off the excess properly. Use a powder shaker with a fine mesh and gently tap the film to remove loose powder. Also, make sure the ink is tacky enough to hold only a thin layer of powder.
Can I use DTF transfers on all fabric types?
DTF works on most fabrics, but results vary. Cotton and blends take transfers well, while high-spandex or slick synthetics may require special handling. Always test on a swatch before production. For challenging fabrics, consider using a stretchable transfer or adjusting press settings.
How do I store DTF transfers to prevent issues?
Store unused transfers in a cool, dry place away from direct sunlight. Keep them flat to avoid creasing. For film and powder, use airtight containers and control humidity. Proper storage prevents moisture absorption and powder clumping.