
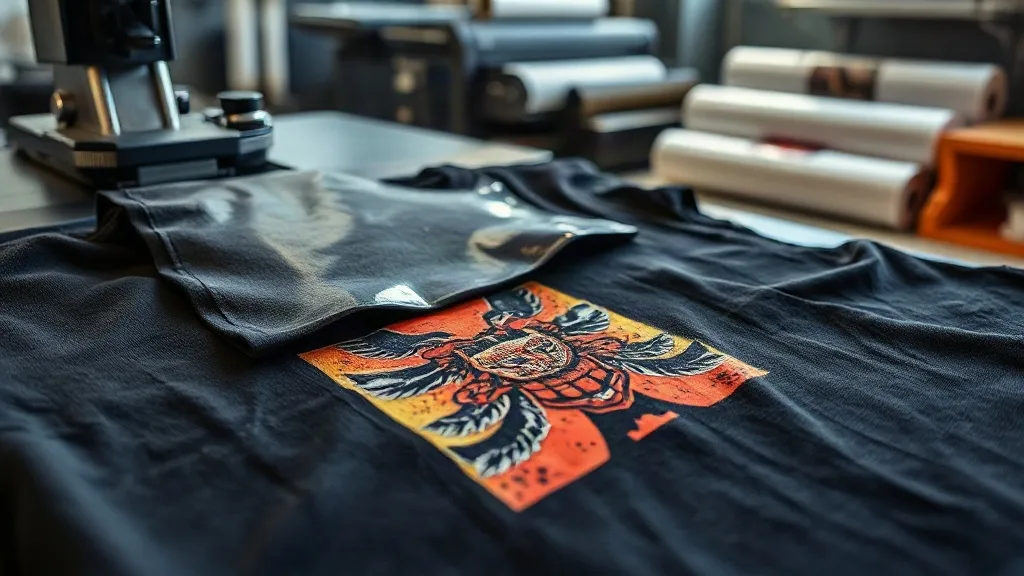
If you've been exploring custom apparel printing, you've likely encountered dtf transfers. This method has rapidly gained popularity for its ability to produce vibrant, detailed designs on a wide range of fabrics. But what exactly makes DTF transfers stand out, and how can you ensure flawless results every time? In this guide, we'll walk you through the entire process, from understanding the basics to troubleshooting common issues, so you can achieve professional-quality prints with confidence.
What Are DTF Transfers?
DTF, or Direct to Film, is a printing technique where your design is printed onto a special film, coated with adhesive powder, and then heat-pressed onto the fabric. Unlike DTG (Direct to Garment) printing, which requires pre-treatment and works best on cotton, DTF transfers can adhere to almost any fabric, including polyester, blends, and even treated nylon. The process involves creating a mirror-image print on film, applying a hot-melt powder while the ink is still wet, and then curing the powder to create a durable, stretchable layer that bonds to the fabric under heat and pressure.
Why Choose DTF Transfers?
There are several reasons why dtf transfers have become a go-to solution for both hobbyists and professionals. First, they offer exceptional versatility: you can print on dark and light colors, and on materials that traditional methods struggle with. Second, the prints are highly durable, withstanding repeated washing without cracking or fading. Third, the process eliminates the need for weeding or masking, saving time and reducing waste. Finally, DTF transfers produce soft-hand prints that feel comfortable on the skin, making them ideal for wearable art.
Materials You'll Need
Before diving into the DTF process, gather the right supplies. Here's a checklist to get started:
- DTF printer or access to a DTF printing service.
- DTF film (usually PET film) designed for your printer type.
- DTF ink (CMYK plus white).
- Hot-melt adhesive powder (available in fine or coarse grades).
- Heat press capable of reaching 320°F (160°C) and applying consistent pressure.
- Lint-free cloth or silicone paper for pressing.
- Weighing scale (optional, for precise powder application).
Step-by-Step DTF Transfer Process
1. Design Preparation
Start with a high-resolution image (300 DPI recommended) and ensure it's mirrored horizontally before printing. This is crucial because the design will be flipped when transferred to the fabric. Use your printer's RIP software to manage color profiles and white ink layering. A good practice is to add a white underbase behind the color to make the design pop on dark garments.
2. Printing onto Film
Load the DTF film into your printer and print the design. Ensure the film is compatible with your printer and that the ink is evenly applied. Allow the print to dry slightly; it should be tacky but not wet. This step sets the stage for powder application.
3. Powder Application
While the ink is still wet, sprinkle the hot-melt adhesive powder evenly over the printed area. You can use a shaker bottle for better control. Gently shake off excess powder, and make sure the entire design is covered. A common mistake is applying too much powder, which can lead to a stiff feel and clogged details. Aim for a light, uniform coating that adheres to the ink.
4. Curing the Powder
Curing is critical. Place the film in an oven or under a heat source (like a heat press with the platen raised) at around 200°F (93°C) for 2-3 minutes, or until the powder melts and becomes glossy. Avoid overheating, which can cause the film to warp or the powder to scorch. Proper curing ensures the adhesive will bond firmly to the fabric.
5. Heat Pressing
Set your heat press to 320°F (160°C) with medium pressure (around 40-60 PSI). Place the cured transfer face-down onto the fabric, cover with a lint-free cloth or silicone paper, and press for 10-15 seconds. Allow the garment to cool completely before peeling the film. For best results, use a cold peel: wait until the transfer is cool to the touch, then peel slowly at a low angle.
Common DTF Problems and How to Fix Them
Even with careful technique, issues can arise. Here are some troubleshooting tips:
- Patchy or incomplete transfers: This often indicates insufficient pressure or uneven powder application. Check your heat press calibration and ensure the powder is evenly distributed.
- Cracking after washing: Usually caused by under-curing the powder or pressing at too low a temperature. Increase curing time or temperature slightly, and ensure the fabric is properly pre-pressed to remove moisture.
- Sticky residue on the film: If the film leaves residue on the fabric, it may be due to over-pressing or using too high a temperature. Reduce temperature and pressure, and always use a protective sheet.
- Color fading: Use high-quality inks and store prints in a cool, dry place away from direct sunlight. Also, ensure the white ink layer is thick enough to support the colors.
Finding DTF Transfers Near You
If you're not ready to invest in a DTF printer, you can still enjoy the benefits of this printing method by ordering transfers from a local provider. Searching for dtf transfers near me can help you find a service that offers quick turnaround and high-quality prints. Many print shops now offer DTF transfer services, allowing you to upload your design, choose the film type, and receive ready-to-press transfers. This is a great option for small businesses or individuals who want to experiment with DTF without a large upfront cost.
Tips for Long-Lasting DTF Prints
To ensure your DTF transfers stand the test of time, follow these best practices:
- Wash inside out in cold water and avoid harsh detergents.
- Skip the dryer or use low heat; high temperatures can degrade the adhesive.
- Avoid ironing directly on the print; if needed, iron on the reverse side.
- Store transfers properly in a cool, dry place away from direct sunlight.
- Pre-press garments to remove moisture and wrinkles before applying transfers.
Frequently Asked Questions
Can I use DTF transfers on cotton?
Absolutely. DTF transfers work well on cotton and cotton blends, though they truly shine on fabrics that are difficult for other methods, like polyester and nylon. The key is to ensure the fabric is clean and dry before pressing.
How do I store unused DTF transfers?
Store them in a cool, dry place, away from direct sunlight and moisture. Keep them flat or rolled loosely to prevent creasing. Properly stored transfers can last for several months.
What's the difference between DTF and DTG?
DTG prints directly onto the garment, requiring pre-treatment and typically working best on 100% cotton. DTF involves printing onto a film and transferring, which allows for use on a wider range of fabrics and eliminates the need for pre-treatment.
Can I reuse a DTF transfer?
No, DTF transfers are designed for single use. Once the adhesive is melted and pressed, it cannot be reused effectively.
How long does a DTF transfer last?
With proper care, DTF transfers can last as long as the garment itself. Following the washing and care instructions will ensure the print remains vibrant and intact.