
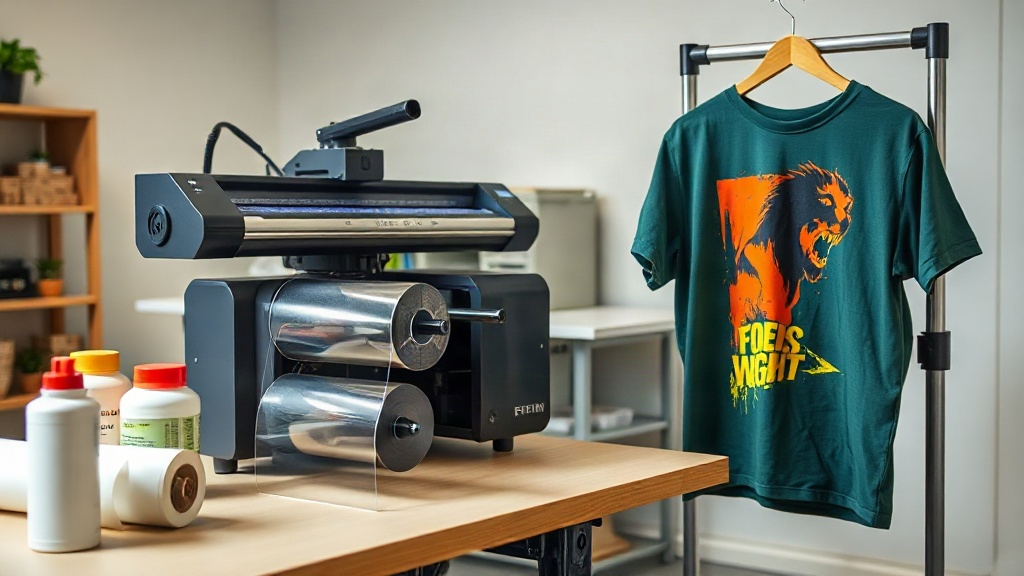
Imagine pressing a button and watching a full-color design transfer onto a cotton t-shirt in minutes, with no weeding, no messy powders, and no color limitations. That's the promise of DTF printing, a technology that has quickly become a favorite among small business owners, crafters, and apparel decorators. Unlike traditional methods that require specific fabrics or multiple steps, DTF (Direct to Film) printing offers a streamlined workflow that delivers professional results right from your home studio. In this guide, we'll walk you through everything you need to know to get started with DTF printing, from the basic principles to practical tips for flawless transfers.
What Exactly Is DTF Printing?
DTF printing stands for Direct to Film. It's a digital printing process where your design is printed onto a special PET film using water-based pigments. After printing, a thermoplastic powder (often called hot melt adhesive) is applied to the wet ink. The powder sticks to the ink, and then the film is cured in an oven or with a heat press. Once cured, the transfer is ready to be applied to fabric using a heat press. The result is a soft, stretchable, and durable print that bonds permanently to the garment.
The key difference between DTF and other methods like DTG (Direct to Garment) or screen printing is that DTF transfers can be applied to almost any fabric, including cotton, polyester, blends, and even nylon. Plus, you can print on dark colors without a separate white underbase step, because the white ink is printed as part of the design.
Why DTF Printing Is Gaining Popularity
Several factors make DTF printing an attractive option for both beginners and seasoned professionals. Here are the main advantages:
- No fabric restrictions: Works on cotton, polyester, blends, leather, and more.
- No color limitations: Full-color designs with gradients and fine details are possible.
- No weeding required: Unlike vinyl, you don't need to cut and weed around intricate shapes.
- Durable and stretchable: The prints withstand repeated washing and stretching without cracking.
- Cost-effective for short runs: Ideal for small batches and personalized items.
- Simple workflow: Print, powder, cure, press. That's it.
These benefits have made DTF a go-to solution for custom t-shirts, tote bags, hoodies, and even promotional items.
Essential Equipment for DTF Printing
Before you dive in, you'll need the right tools. Here's a rundown of the must-have equipment:
1. DTF Printer
A dedicated DTF printer uses pigment inks and typically has a white ink channel. Models range from desktop sizes to wide-format machines. For beginners, a smaller printer like the Epson F2100 converted for DTF or a purpose-built DTF printer from brands like Roland or Mutoh can be a good start. Make sure it has a reliable white ink circulation system to prevent clogging.
2. DTF Inks
You'll need CMYK plus white DTF inks. These are specially formulated to be printed on film and later transferred. Quality inks ensure vibrant colors and durable prints.
3. DTF Film
This is the medium that carries your design. DTF film comes in sheets or rolls, with a matte and glossy side. The matte side is for printing, and the glossy side is for transferring. It's crucial to use film designed specifically for DTF to avoid issues.
4. Hot Melt Powder
Also known as DTF powder, this adhesive is sprinkled onto the wet print. It's available in different particle sizes; finer powders work well for detailed designs.
5. Curing Oven or Heat Press
After powdering, the film needs to be cured. You can use a dedicated curing oven or a heat press. The goal is to melt the powder into a smooth, clear layer.
6. Heat Press
A heat press is essential for applying the transfer to the garment. It provides consistent temperature and pressure.
Step-by-Step DTF Printing Process
Now that you have your equipment, let's walk through the process from start to finish.
Step 1: Prepare Your Design
Create or obtain your artwork in a digital format. DTF printing can handle complex designs, but for best results, use high-resolution images (300 DPI or higher). Remember that the design will be printed in reverse (mirrored) on the film, so flip it horizontally before printing. Also, if your design has a white base, ensure it's set up correctly in your RIP software.
Step 2: Print on DTF Film
Load the DTF film into your printer with the matte side facing the printhead. Send your design to the printer. The printer will lay down CMYK inks and then a layer of white ink. The white ink acts as a base and also makes the colors pop on dark fabrics. Allow the print to rest for a few seconds.
Step 3: Apply Hot Melt Powder
While the ink is still wet, sprinkle the hot melt powder evenly over the printed area. You can use a powder shaker or a manual sieve. Gently tilt the film to remove excess powder, leaving a thin, even layer stuck to the ink. Too much powder can lead to a rough feel; too little can cause poor adhesion.
Step 4: Cure the Powder
Place the powdered film in a curing oven at around 320°F (160°C) for 2-3 minutes, or use a heat press with light pressure for about 30-45 seconds. The powder should melt and become glossy. Avoid overheating, as it can damage the film. Once cured, the transfer is ready to use or can be stored for later.
Step 5: Press onto Garment
Preheat your heat press to 320-350°F (160-175°C). Place the garment on the press, position the transfer with the design facing up, and cover with a protective sheet or parchment paper. Press for 15-20 seconds with medium pressure. For best results, peel the film while it's still warm (warm peel) or let it cool completely (cold peel) depending on the film's instructions. Most DTF films are cold peel, so wait a few seconds before removing.
Step 6: Post-Press (Optional)
For added durability, you can give the pressed area a second press for 5-10 seconds with a protective sheet. This helps the adhesive fully bond with the fabric.
Common Challenges and How to Overcome Them
Even with a straightforward process, you might encounter a few hiccups. Here are some common issues and their solutions:
- Clogged printhead: Regular maintenance and daily printing keep the white ink flowing. Use a cleaning cartridge if needed.
- Poor adhesion: Ensure the powder is fully cured and the press temperature is accurate. Also, pre-press the garment to remove moisture.
- Dull colors: Check your ink profiles and make sure you're using the correct ICC profile for your printer and film.
- Film curling: Store film flat and in a cool, dry place. Curling can cause misfeeds.
- Powder clumping: Use a fine powder and apply it evenly. Too much powder can create a rough texture.
With a bit of practice, you'll be able to troubleshoot these issues quickly.
Tips for Success with DTF Printing
To get the most out of your DTF printing setup, consider these expert tips:
- Start with quality materials: Cheaper film and powder can lead to inconsistent results. Invest in reputable brands.
- Maintain your printer: Daily printhead cleaning and weekly maintenance prevent clogs and ensure longevity.
- Test your settings: Each printer and film combo may require slight adjustments. Keep a log of successful settings.
- Use a heat press with accurate temperature: An infrared thermometer can help verify the press temperature.
- Store transfers properly: Keep unused transfers in a cool, dry place away from direct sunlight.
These practices will help you achieve consistent, professional-looking results.
Frequently Asked Questions About DTF Printing
How long do DTF prints last?
When properly applied, DTF prints can last as long as the garment itself. They withstand 50+ washes without fading or cracking, especially if you follow care instructions like washing inside out and avoiding bleach.
Can I use DTF on 100% polyester?
Yes, DTF works great on polyester. However, because polyester is heat-sensitive, you should use lower pressing temperatures (around 280-300°F) to avoid scorching or dye migration. Always test on a scrap first.
Do I need a special printer for DTF?
You can convert certain inkjet printers (like Epson) to DTF with a conversion kit, but dedicated DTF printers are recommended for reliability and warranty. They come with the necessary white ink channels and software.
What is the difference between DTF and DTG?
DTF involves printing on a film and then transferring to the fabric, while DTG (Direct to Garment) prints directly onto the garment. DTF can be used on more fabric types and doesn't require pre-treatment, but DTG can be more efficient for large runs on cotton.
How do I store DTF transfers?
Keep them in a cool, dry place, away from direct sunlight and moisture. You can stack them with a sheet of parchment paper between each transfer to prevent sticking. Properly stored transfers can last for several months.
With its versatility and ease of use, DTF printing opens up a world of possibilities for custom apparel. Whether you're a hobbyist or a growing business, mastering DTF can set you apart. Gather your equipment, follow the steps, and start creating vibrant, long-lasting designs today.