
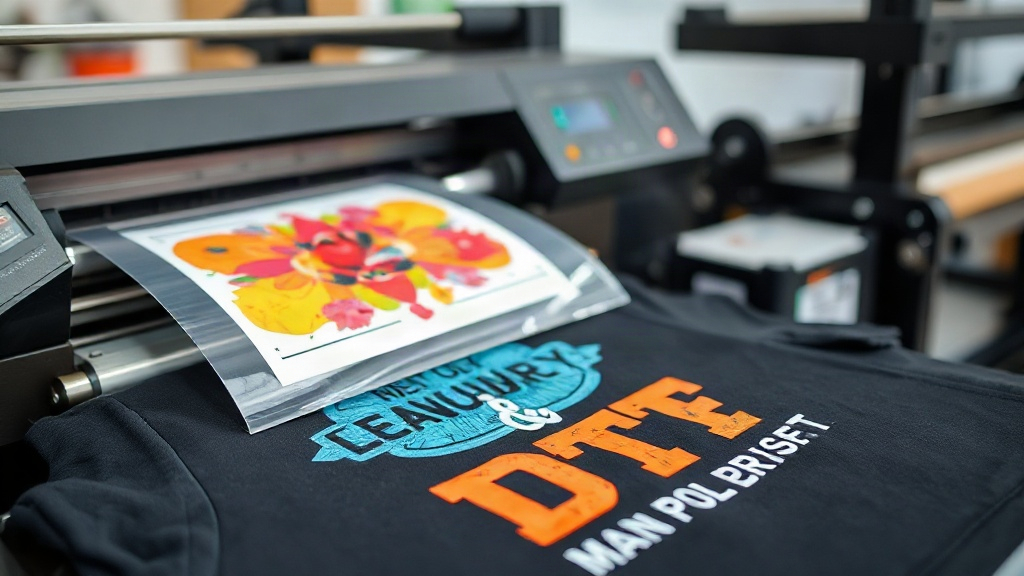
If you've been in the custom apparel game for even a short time, you've likely heard the buzz around DTF printing. Direct-to-film has quickly become a go-to method for creating vibrant, durable transfers that work on almost any fabric. Unlike traditional screen printing or vinyl, DTF offers a unique blend of flexibility, detail, and ease that appeals to both hobbyists and large-scale shops. In this guide, I'll walk you through everything you need to know to get started with DTF printing, from the basic principles to the nitty-gritty of achieving professional results.
What Exactly Is DTF Printing?
DTF stands for Direct-to-Film. It's a printing technique where your design is printed onto a special film, coated with a powder adhesive, and then heat-pressed onto the fabric. The magic lies in the transfer: the ink and adhesive bond to the garment, creating a soft, stretchable, and long-lasting print. Because the design is printed onto a film first, you can use it on a wide range of materials, including cotton, polyester, blends, and even treated nylon. This versatility is a game-changer for anyone who works with diverse fabrics.
One of the biggest advantages of DTF is that it doesn't require weeding. If you've ever spent hours picking tiny pieces of vinyl, you know how tedious that can be. With DTF, you simply print, powder, cure, and press. That's it. The process is faster and allows for incredibly intricate designs with fine lines and gradients that would be difficult or impossible with other methods.
Why Choose DTF Over Other Printing Methods?
You might be wondering how DTF stacks up against screen printing, DTG, or sublimation. Each method has its strengths, but DTF shines in several key areas:
- Fabric versatility: Works on cotton, polyester, blends, and more. No need for pre-treatment like DTG.
- No weeding: Saves hours of labor, especially for complex designs.
- Vibrant colors: White ink base allows for bright, opaque prints on dark garments.
- Durability: Prints stretch with the fabric and resist cracking and fading.
- Cost-effective for small batches: No setup fees or minimums, ideal for one-offs or custom orders.
That said, DTF isn't perfect for every situation. For very large runs, screen printing might be more economical. And if you need a super soft hand feel on light-colored garments, DTG could be a better fit. But for the majority of custom apparel needs, DTF delivers an excellent balance of quality, speed, and versatility.
Getting Started: What You'll Need
Before you dive into DTF printing, you'll need to gather the right equipment and supplies. Here's a breakdown of the essentials:
1. DTF Printer
You can't do DTF without a printer designed for it. These printers use special inks (usually CMYK plus white) and are built to handle the film and powder process. Options range from entry-level desktop models to industrial machines. If you're just starting, a smaller printer from a reputable brand like Epson or Roland (with a DTF conversion kit) can get you going without breaking the bank.
2. DTF Film
Not all films are created equal. You'll need PET film designed specifically for DTF. It comes in sheets or rolls, with a matte or glossy side. The film must be compatible with your printer and able to withstand the heat of curing. Always test new film types to ensure proper ink adhesion and transfer.
3. DTF Ink
DTF ink is formulated to be flexible and durable. It typically includes cyan, magenta, yellow, black, and white. The white ink is crucial for printing on dark fabrics, as it provides an opaque base. Quality ink matters: cheap alternatives can clog printheads and produce dull results.
4. Adhesive Powder
Also known as hot melt powder, this is sprinkled onto the wet ink after printing. It's what allows the transfer to bond to the fabric when heat-pressed. There are different types of powder (fine, medium, coarse) for different effects. Fine powder gives a softer feel, while coarser powder can create a raised texture.
5. Heat Press
A heat press is essential for both curing the powder and applying the transfer. You'll need one that can reach at least 320°F (160°C) and apply consistent pressure. A clamshell or swing-away press works well. For curing, some use a dedicated oven or a heat gun, but a heat press is more controlled.
6. RIP Software
Raster Image Processor (RIP) software is the brains behind the operation. It manages color profiles, ink limits, and white ink layering. Most DTF printers come with proprietary RIP software, but you can also use third-party options like Cadlink or AcroRIP.
Step-by-Step DTF Printing Process
Now that you have your gear, let's walk through the actual printing process. It's straightforward but requires attention to detail.
Step 1: Prepare Your Artwork
Start with a high-resolution image (300 DPI is ideal). DTF can handle fine details, so don't shy away from gradients, thin lines, or small text. Make sure your design is mirrored (flipped horizontally) before printing, as you'll be pressing it face-down onto the fabric. Your RIP software will handle the white underbase automatically, but you can adjust settings for desired opacity.
Step 2: Print the Design
Load your DTF film into the printer, ensuring it's the correct side up (usually the matte side). Send the job from your RIP software. The printer will lay down the white ink first, followed by CMYK. This order is critical for vibrant colors on dark garments. Once printed, the film will have a wet, tacky surface.
Step 3: Apply Adhesive Powder
While the ink is still wet, sprinkle the adhesive powder generously over the printed area. You can do this manually or with an automatic shaker. Then, tilt the film to shake off excess powder. You want an even coating that sticks to the ink but doesn't clump. A little goes a long way.
Step 4: Cure the Powder
Now you need to melt the powder so it becomes a solid adhesive layer. This is done by heating the film. You can use a heat press set to 320°F (160°C) for about 30-60 seconds, or a dedicated curing oven. The powder should turn glossy and gel-like. Be careful not to overheat, as it can scorch the film or cause the ink to crack.
Step 5: Press onto Fabric
Once cured, the transfer is ready to apply. Preheat your heat press to 320-350°F (160-175°C). Place the transfer face-down onto the garment, cover with a protective sheet (like parchment paper or a Teflon sheet), and press for 10-15 seconds with medium pressure. Let it cool completely before peeling off the film. For best results, peel while warm for a matte finish or cold for a glossy finish.
Pro Tips for Flawless DTF Transfers
After countless hours of trial and error, I've picked up a few tricks that can save you from common headaches:
- Control humidity: Moisture in the air can affect powder adhesion and ink drying. Aim for 40-60% relative humidity.
- Test your powder: Different powders behave differently. Find one that gives you the feel and durability you want, then stick with it.
- Use a lint roller: Before pressing, run a lint roller over the garment to remove dust and fibers. This prevents imperfections.
- Pre-press garments: A quick 5-second pre-press removes wrinkles and moisture, ensuring a smooth application.
- Store transfers properly: Keep unused transfers in a cool, dry place, away from direct sunlight. They can last for months if stored correctly.
- Experiment with pressure: Too little pressure and the transfer won't adhere; too much and the design can spread. Find the sweet spot for your press.
Another tip: always do a wash test. Print a sample, press it onto a scrap piece of fabric, and wash it a few times to see how it holds up. This will give you confidence in your process and help you troubleshoot any issues.
Common DTF Problems and How to Fix Them
Even with the best setup, things can go wrong. Here are some frequent issues and their solutions:
Transfer peels off after washing
This usually means the powder wasn't cured properly or the pressure during pressing was insufficient. Try increasing the curing time or temperature, and make sure your heat press applies even pressure. Also, check that you're using the correct side of the film.
Colors look dull or faded
Dull colors often result from too little white ink or incorrect RIP settings. Increase the white ink density and ensure your color profiles are calibrated. Also, make sure you're printing on the correct side of the film.
Ink cracks after stretching
Cracking indicates that the ink layer is too thick or the powder is too coarse. Try reducing the ink limit in your RIP software and switch to a finer powder. Also, ensure you're not over-stretching the garment when pressing.
Powder doesn't stick
If the powder isn't adhering to the ink, the ink may have dried too much before powdering. Work quickly: print, powder, and cure without delay. Also, check that your powder is fresh and not clumped.
DTF vs. Other Methods: A Quick Comparison
To help you decide if DTF is right for your project, here's a side-by-side look at how it compares to other popular printing techniques.
- DTF vs. Screen Printing: Screen printing is more cost-effective for large runs of simple designs, but DTF wins for complex, multi-color designs and small batches.
- DTF vs. DTG: DTG requires pre-treatment and works best on 100% cotton. DTF works on more fabrics and often has a more durable finish.
- DTF vs. Vinyl: Vinyl is great for simple text and shapes, but DTF allows for full-color, photographic-quality prints without weeding.
- DTF vs. Sublimation: Sublimation only works on polyester and light-colored fabrics. DTF can print white on dark cotton, making it far more versatile.
Ultimately, the best method depends on your specific needs. But if you want a versatile, durable, and vibrant print with minimal fuss, DTF is hard to beat.
Frequently Asked Questions About DTF Printing
What fabrics can I use with DTF printing?
DTF transfers adhere well to cotton, polyester, cotton-poly blends, and even some nylons. They are not recommended for fabrics with a high spandex content or those with a rough texture, as adhesion may be compromised.
Do I need a special printer for DTF?
Yes, you need a printer that uses DTF ink and is designed to handle the film and powder process. You can convert some Epson printers with a DTF kit, but dedicated DTF printers are more reliable for consistent results.
How long do DTF transfers last?
When properly applied and cared for, DTF transfers can last as long as the garment. They withstand dozens of washes without fading or cracking. Always follow care instructions: wash inside out in cold water and avoid ironing directly on the print.
Can I print white ink with DTF?
Absolutely. In fact, white ink is a key feature of DTF printing. It allows you to print vibrant colors on dark fabrics without a separate white underbase. Your RIP software will handle the white ink layering automatically.
Is DTF printing cost-effective for small businesses?
Yes, DTF is very cost-effective for small businesses and startups because it eliminates setup fees and minimum order quantities. You can print one-off designs or small batches without wasting materials. The main costs are the printer, ink, film, and powder, which are reasonable for the flexibility it offers.
With this guide, you're well on your way to mastering DTF printing. Remember, practice makes perfect. Start with simple designs, dial in your settings, and soon you'll be producing stunning, professional-quality transfers that impress your customers and keep them coming back.