
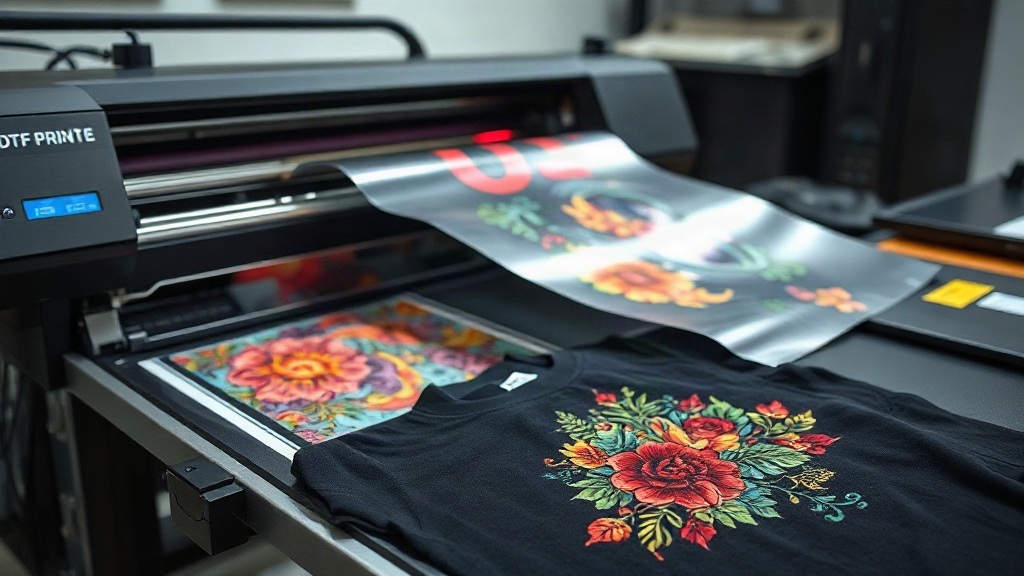
If you've been exploring custom apparel, you've likely encountered DTF printing. Short for Direct-to-Film, this technology is transforming how creators and businesses produce vibrant, long-lasting designs on fabric. Unlike traditional methods that require specific materials or complex setups, DTF offers a versatile, accessible approach that's capturing attention across the industry. In this guide, we'll walk you through the essentials of DTF printing, from its mechanics to practical tips, so you can decide if it's right for your next project.
What Exactly Is DTF Printing?
DTF printing is a digital printing process where your design is printed onto a special film, coated with adhesive powder, and then heat-pressed onto fabric. The magic lies in its simplicity: you print, powder, cure, and press. This method works on a wide range of fabrics, including cotton, polyester, blends, and even leather, without the need for pre-treatment. That flexibility sets DTF apart from other techniques like DTG (Direct-to-Garment) or screen printing, which often have limitations on fabric types or require minimum orders.
How Does the DTF Process Work?
Understanding the step-by-step process helps you appreciate the craft. Here's what happens from digital file to finished garment:
- Design Preparation: Your artwork is prepared in a graphics program, ensuring it's mirrored and sized correctly. While not mandatory, adding a white underbase layer (if your printer supports it) can enhance opacity on dark fabrics.
- Printing: A specialized DTF printer lays down your design using pigment-based inks onto a PET film. The printer typically prints a white layer first, followed by CMYK colors, though the order can vary by printer model.
- Powder Application: While the ink is still wet, a thermoplastic adhesive powder is applied evenly over the printed area. Excess powder is shaken off.
- Curing: The film with powder goes into a curing oven or under a heat source to melt the powder, creating a smooth, adhesive layer.
- Heat Pressing: The cured film is placed on the fabric and pressed with a heat press at specific temperature and pressure settings. After cooling, the film is peeled away, leaving the design bonded to the fabric.
Each step requires attention to detail, but the learning curve is manageable with practice.
Why Choose DTF Printing?
There are several compelling reasons why DTF printing has gained popularity:
- Versatility: Works on almost any fabric, including those that are hard to print on with other methods.
- No Pre-Treatment: Saves time and eliminates chemicals needed for DTG on dark garments.
- Durability: When properly applied, DTF prints resist cracking, peeling, and fading, even after multiple washes.
- Detail and Color: Produces high-resolution, vibrant prints with fine details, making it ideal for complex designs.
- Cost-Effective for Short Runs: No minimum order quantities, so you can print one-offs or small batches profitably.
- Stretchability: The prints stretch with the fabric, reducing cracking on stretchy materials.
These advantages make DTF a go-to for small businesses, hobbyists, and anyone needing custom apparel without the constraints of traditional methods.
Getting Started with DTF Printing
Equipment and Supplies
To begin, you'll need a DTF printer (or access to a printing service), DTF film, adhesive powder, a heat press, and a curing oven or heat gun. Start with a reliable printer; many entry-level models are available. Ensure your heat press can reach temperatures up to 350°F (175°C) and provides even pressure.
Design Tips for Best Results
Not all designs translate perfectly to DTF. Keep these tips in mind:
- Use High-Resolution Images: Vector files or 300 DPI raster images work best.
- Consider Fabric Color: On dark fabrics, the white underbase is crucial for color vibrancy. On light fabrics, you might skip it for a softer feel.
- Avoid Very Fine Lines: While DTF handles detail well, extremely thin lines may not adhere as strongly. A minimum line width of 1pt is safe.
- Test Stretch: If printing on stretchy fabrics, ensure your design isn't too rigid. The adhesive powder helps, but designs with large solid areas may still crack if stretched excessively.
Step-by-Step Application
Once your film is ready, follow these steps for a flawless application:
- Preheat your heat press to 300-325°F (150-160°C).
- Place the garment on the press and pre-press for 3-5 seconds to remove moisture.
- Position the DTF transfer film on the garment.
- Press with medium-heavy pressure for 10-15 seconds.
- Remove the garment and let it cool completely before peeling the film. For a matte finish, peel cold; for a glossy finish, peel hot.
- For added durability, you can do a second press for 5 seconds with a Teflon sheet or parchment paper.
Common Challenges and Solutions
Even with a straightforward process, issues can arise. Here are some common problems and how to fix them:
- Design Peeling After Wash: Usually due to insufficient pressure or incorrect temperature. Increase pressure and ensure even heat. Also, verify that the adhesive powder was fully cured.
- Dull Colors: May indicate too little white underbase or insufficient ink coverage. Check your printer settings and consider adding a white layer.
- Cracking: Often caused by over-stretching the fabric or too thick an ink layer. Use thinner ink layers and ensure the print stretches with the fabric.
- Powder Not Melting: Your curing temperature might be too low. Increase the curing time or temperature according to your powder's specifications.
Troubleshooting becomes easier with experience, so don't be discouraged by initial hiccups.
DTF vs. Other Printing Methods
How does DTF stack up against DTG, screen printing, and vinyl? Here's a quick comparison:
- DTG: Best for 100% cotton, requires pre-treatment on dark shirts, and can be slower. DTF works on more fabrics and often produces more durable prints.
- Screen Printing: Cost-effective for large orders, but setup is time-consuming and costly for small runs. DTF excels in short runs and complex designs.
- Vinyl: Good for simple designs and numbers, but limited in color and detail. DTF offers full-color, photographic-quality prints.
Each method has its place, but DTF offers a unique blend of versatility and quality that's hard to beat for custom apparel.
Frequently Asked Questions About DTF Printing
How long do DTF prints last?
With proper application and care, DTF prints can last as long as the garment itself. Following washing instructions (inside out, cold water, no bleach) will maximize longevity. Expect 50+ washes without significant fading or cracking.
Can I use DTF on 100% polyester?
Absolutely. DTF works exceptionally well on polyester because the low-temperature application prevents dye migration, a common issue with other methods. It's a top choice for sportswear and activewear.
Do I need a special printer for DTF?
Yes, you need a printer designed for DTF printing, as it must handle the special inks and film. However, you can also outsource printing to a service if you're not ready to invest in equipment.
How do I wash a DTF-printed shirt?
Turn the garment inside out, wash in cold water with mild detergent, and avoid fabric softeners and bleach. Tumble dry on low or hang dry. Avoid ironing directly on the print.
Is DTF printing eco-friendly?
DTF printing uses water-based inks and produces less waste compared to some traditional methods. However, the film and powder are not biodegradable, so proper disposal is important. Look for eco-friendly DTF supplies if sustainability is a priority.
Final Thoughts
DTF printing opens up a world of possibilities for custom apparel. Whether you're a small business owner, a hobbyist, or someone looking to create personalized gifts, this technology offers a practical, high-quality solution. With the right knowledge and a bit of practice, you can achieve professional results that impress. So why not give DTF a try? Your next custom creation could be your best yet.