
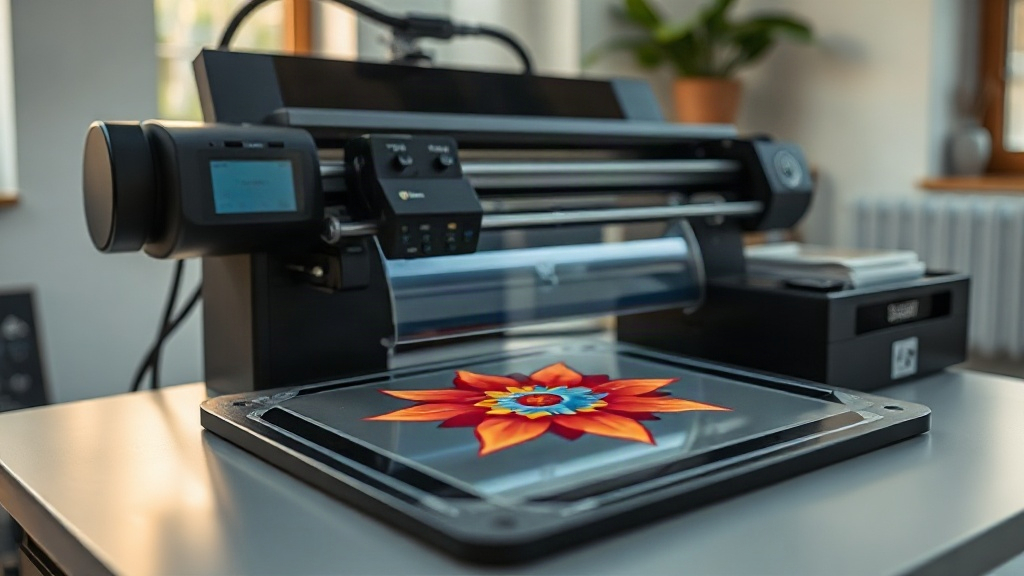
If you've been exploring custom apparel printing, you've likely encountered the term DTF. Short for Direct to Film, this technology is quickly becoming a favorite among hobbyists and professionals alike. Unlike traditional methods, DTF printing allows you to transfer intricate designs onto a variety of fabrics with impressive durability and color vibrancy. Whether you're running a small business or just love creating personalized gifts, understanding DTF can open up a world of possibilities. In this guide, we'll walk you through the essentials of DTF printing, from how it works to practical tips for getting started.
What is DTF Printing?
DTF printing stands for Direct to Film. It's a digital printing method where your design is printed onto a special film, coated with adhesive powder, and then heat-pressed onto the fabric. This process eliminates the need for weeding or cutting, making it faster and more efficient than vinyl. The result is a soft, stretchable print that adheres well to cotton, polyester, blends, and even treated nylon. Because the design is printed on film first, you can achieve fine details and gradients that are often challenging with other techniques.
How Does DTF Printing Work?
The DTF process involves several key steps. First, your artwork is printed onto a PET film using specialized DTF inks. These inks are typically pigment-based and include a white layer to ensure opacity on dark fabrics. After printing, a hot-melt adhesive powder is applied to the wet ink. The film then goes through a curing process to melt the powder, creating a bondable surface. Once cured, the transfer is ready to be applied using a heat press. The film is placed on the garment, pressed at a specific temperature and pressure, and then peeled off (hot or cold peel depending on the film). The adhesive melts into the fabric, locking the ink in place.
Key Components of DTF Printing
- DTF Printer: A modified inkjet printer that uses DTF inks, usually with a white ink channel.
- DTF Inks: Pigment-based inks designed for film printing, offering vibrant colors and durability.
- PET Film: A special film that holds the printed design and releases it during heat application.
- Adhesive Powder: A hot-melt powder that acts as the glue between the ink and the fabric.
- Heat Press: A machine that applies heat and pressure to transfer the design onto the garment.
Why Choose DTF Printing?
DTF printing offers several advantages over other methods like screen printing, DTG, and vinyl. Here are some reasons why you might consider DTF for your next project:
- Versatility: Works on a wide range of fabrics, including cotton, polyester, blends, and even leather.
- No Weeding: Unlike vinyl, there's no tedious weeding process, saving time and reducing waste.
- Durability: Prints are stretchable and resistant to cracking, peeling, and fading.
- Detail: Capable of reproducing fine lines, small text, and complex gradients.
- Cost-Effective for Short Runs: Ideal for small batches and one-off designs without setup fees.
DTF vs. DTG: What's the Difference?
Direct to Garment (DTG) printing is another popular digital method. While both are great for detailed designs, they differ in application. DTG prints directly onto the garment, which often requires pre-treatment and works best on 100% cotton. DTF, on the other hand, prints on a film that can be applied to nearly any fabric. DTF also tends to have better opacity on dark colors and doesn't require pre-treatment. However, DTG can produce a softer feel on cotton. Your choice depends on your fabric types and production needs.
Getting Started with DTF Printing
Ready to dive into DTF printing? Here's a step-by-step overview to help you begin.
- Choose Your Equipment: You'll need a DTF printer, heat press, DTF inks, PET film, and adhesive powder. Start with a reliable printer that fits your budget.
- Prepare Your Artwork: Use graphic design software to create or edit your design. Ensure it's mirrored if required by your printer software.
- Print the Design: Load the PET film into the printer and print your design. The printer will lay down color and white ink.
- Apply Adhesive Powder: While the ink is still wet, sprinkle the adhesive powder evenly over the design. Shake off excess.
- Cure the Powder: Place the film in a curing oven or under a heat source to melt the powder. Follow the manufacturer's temperature and time guidelines.
- Heat Press the Transfer: Set your heat press to the recommended temperature (usually around 300-320°F). Place the film on the garment and press for 10-15 seconds.
- Peel and Finish: Remove the film (hot or cold peel as per instructions). Your custom apparel is ready!
Tips for Successful DTF Printing
- Test Your Settings: Every printer and film behaves differently. Always do a test press to dial in temperature, pressure, and time.
- Keep It Clean: Dust and lint can ruin a transfer. Work in a clean environment and use a lint roller on garments.
- Store Film Properly: Keep PET film in a cool, dry place to prevent curling and static.
- Use Quality Inks: Cheap inks can clog printheads and produce dull colors. Invest in reputable brands.
- Practice Powder Application: Too much powder can make the print stiff; too little can cause poor adhesion. Aim for an even, light coating.
Common Challenges and How to Overcome Them
Like any printing method, DTF has its quirks. Here are some common issues and solutions:
- Clogged Printhead: Regular cleaning and maintenance are key. Use a weekly cleaning routine and store the printer properly.
- Poor Adhesion: Ensure the powder is fully cured and the heat press settings are correct. Also, check that the garment is free of wrinkles and moisture.
- Color Fading: Use high-quality inks and follow curing guidelines. Overheating can also cause fading, so monitor temperatures.
- Film Curling: Store film flat and avoid humid conditions. If film curls, gently flatten it before printing.
Frequently Asked Questions About DTF Printing
What fabrics can I use with DTF printing?
DTF printing works on a wide range of fabrics, including cotton, polyester, cotton-poly blends, nylon, and even leather. It's particularly good for fabrics that are difficult to print on with other methods.
Do I need a special printer for DTF?
Yes, you need a printer that is compatible with DTF inks, typically a modified inkjet printer with a white ink channel. Some popular models include the Epson F2100 and converted Epson P600/P800.
How durable is a DTF print?
When applied correctly, DTF prints are very durable. They can withstand repeated washing (up to 50+ washes) without cracking, peeling, or fading significantly. Always follow care instructions.
Can I use DTF on dark colors?
Absolutely! DTF printing uses a white ink base, which allows vibrant colors to show up on dark fabrics. This is one of its major advantages over DTG.
What is the cost of starting DTF printing?
Initial costs can range from $1,500 to $5,000 depending on the printer, heat press, and supplies. However, the cost per print is relatively low, making it profitable for small businesses.
With its versatility and growing popularity, DTF printing is a valuable skill for anyone in the custom apparel industry. Whether you're a hobbyist or a business owner, mastering DTF can set your creations apart. Remember to practice, experiment with settings, and source quality materials. Happy printing!