
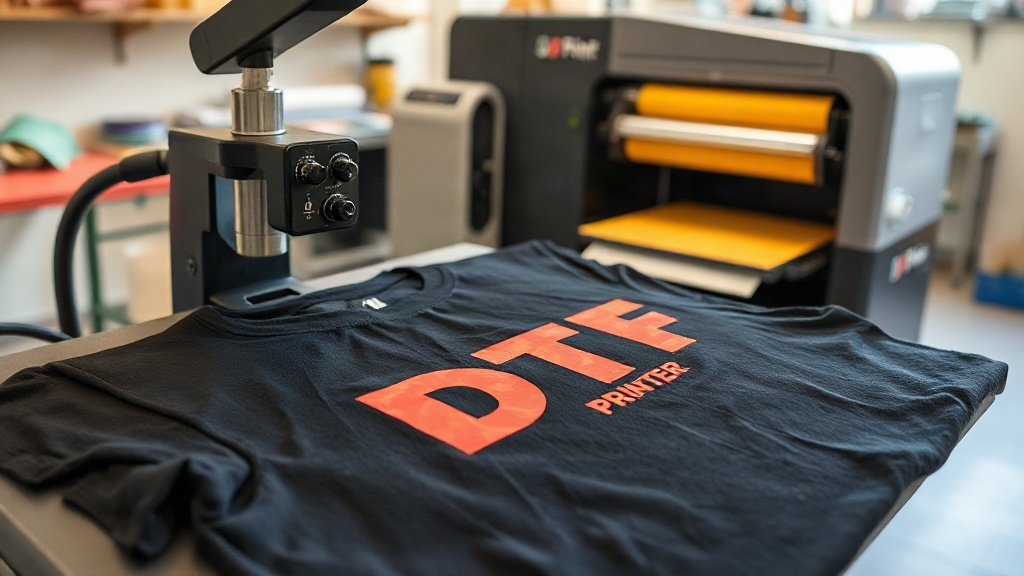
If you've been exploring custom apparel printing, you've likely encountered DTF Transfers. This innovative technology is rapidly becoming a favorite among hobbyists and professionals alike for its versatility and vibrant results. Unlike traditional methods, DTF transfers allow you to print full-color designs on a wide range of fabrics with remarkable ease. In this guide, we'll walk you through everything you need to know to get started, from the basics of the process to expert tips for flawless application.
What Are DTF Transfers?
DTF Transfers (Direct to Film) are a type of heat transfer that involves printing a design onto a special film, coating it with adhesive powder, and then transferring it onto fabric using a heat press. This method eliminates the need for weeding or layering, making it simpler than vinyl or screen printing for complex designs. The result is a soft, stretchable print that adheres well to cotton, polyester, blends, and even treated nylon.
Why Choose DTF Transfers?
There are several compelling reasons why DTF Transfers have gained popularity:
- Versatility: Works on almost any fabric, including dark and light colors, without needing separate processes.
- Durability: Prints withstand repeated washing and stretching without cracking or fading.
- Detail: Captures fine details and gradients with high precision.
- Efficiency: No weeding or layering means faster production times, ideal for small businesses.
- Cost-effective: Lower setup costs compared to screen printing for short runs.
How DTF Transfers Work: Step by Step
Understanding the process helps you troubleshoot and achieve consistent results. Here's a breakdown:
- Design Preparation: Create your artwork in a graphics program, ensuring it's mirrored (unless your printer software does it automatically).
- Printing: Use a DTF printer with specialized inks to print onto a PET film. White ink is typically used as a base for opacity on dark fabrics.
- Powdering: While the ink is wet, apply a hot-melt adhesive powder evenly over the design. Shake off excess.
- Curing: Melt the powder using a heat source (e.g., heat press or oven) until it becomes glossy. This activates the adhesive.
- Transfer: Place the film on your fabric and apply heat and pressure with a heat press. The adhesive bonds the design to the fabric.
- Peeling: After pressing, peel the film off either hot or cold, depending on the film type. The design remains on the fabric.
Choosing the Right Equipment and Materials
To get started with DTF Transfers, you'll need:
- DTF Printer: A dedicated printer that uses DTF inks (often CMYK plus white).
- DTF Film: PET film designed for DTF printing. Available in rolls or sheets.
- Adhesive Powder: Hot-melt powder that bonds the ink to fabric.
- Heat Press: A reliable heat press capable of consistent temperature and pressure.
- Curing Oven (optional): For larger operations, a curing oven speeds up powder melting.
Quality supplies are crucial. Cheaper films or powders can lead to poor adhesion or dull prints.
Step-by-Step Application Guide
Follow these steps for flawless DTF Transfers:
1. Prepare Your Workspace
Work in a clean, dust-free environment. Any particles can ruin the print.
2. Print and Powder
Print your design, then immediately sprinkle adhesive powder over the wet ink. Tilt the film to remove excess powder. You want an even, thin coating.
3. Cure the Powder
Place the film in a heat press at around 160°C (320°F) for 2-3 minutes, or until the powder melts and becomes shiny. Alternatively, use a curing oven.
4. Preheat the Fabric
Prepress your garment for a few seconds to remove moisture and wrinkles.
5. Position and Press
Place the cured film on the fabric, adhesive side down. Press at 160°C (320°F) for 15-20 seconds with medium pressure.
6. Peel and Finish
Peel the film off while hot or cold, depending on the film's instructions. For extra durability, press again for 5 seconds with a protective sheet.
Common Mistakes and How to Avoid Them
Even experienced users encounter issues. Here are pitfalls to watch for:
- Insufficient Powder: Leads to poor adhesion. Ensure even coverage.
- Over or Under Curing: Under-cured powder won't bond; over-curing can cause yellowing. Follow guidelines.
- Wrong Pressure: Too little pressure means incomplete transfer; too much can cause ink spread.
- Peeling Too Early or Late: Follow film instructions for hot vs. cold peel.
- Ignoring Fabric Type: Some fabrics require lower temperatures. Test first.
Tips for Professional Results
Take your DTF Transfers to the next level with these tips:
- Use a lint roller on fabric before pressing to remove debris.
- Store unused film in a dry, cool place to prevent moisture absorption.
- Calibrate your heat press regularly for accurate temperature and pressure.
- Experiment with different powders for special effects (e.g., stretchable powder for athletic wear).
- Always do a test press on scrap fabric before production runs.
Frequently Asked Questions
Can I use DTF transfers on 100% cotton?
Absolutely. DTF Transfers work excellently on cotton, as well as polyester, blends, and more. The adhesive bonds well to natural fibers.
How long do DTF prints last?
With proper application and care, DTF prints can last as long as the garment itself. They resist cracking and fading through many washes.
Do I need a special printer for DTF?
Yes, you need a DTF printer that uses DTF inks, including white ink. Converting a regular printer is not recommended due to ink compatibility issues.
What is the best temperature for pressing DTF transfers?
Typically, 160°C (320°F) for 15-20 seconds. However, always check the film manufacturer's recommendations.
Can I stretch DTF prints?
Yes, DTF prints are stretchable, especially if you use a stretchable adhesive powder. They move with the fabric without cracking.
With this guide, you're ready to dive into the world of DTF Transfers. Practice and attention to detail will have you producing professional-quality apparel in no time.