
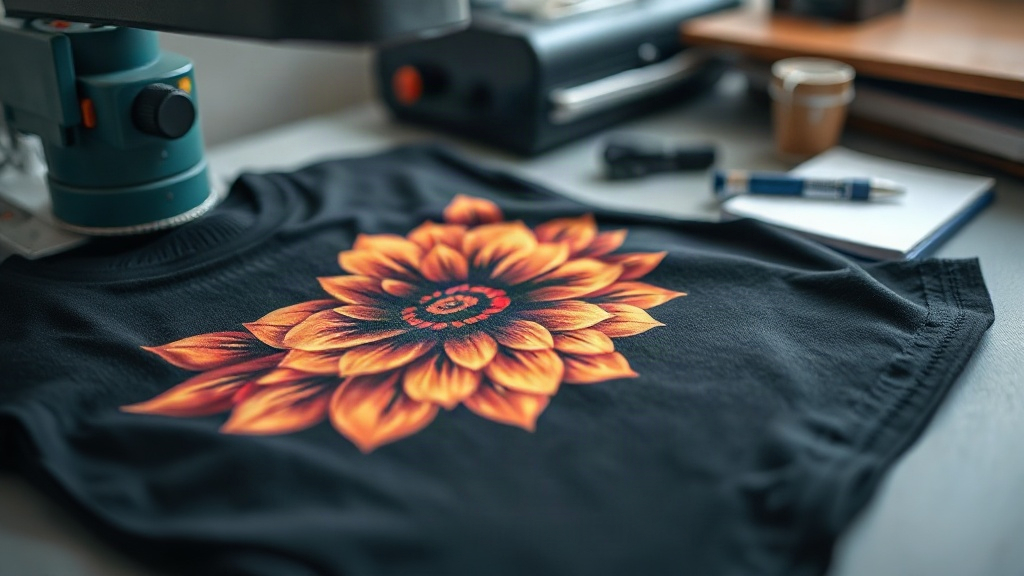
When I first heard about DTF transfers, I was skeptical. As someone who has spent years working with heat transfer vinyl (HTV) and screen printing, I thought I had seen it all. But after testing DTF transfers on a whim, I was blown away by the vibrant colors, the fine detail, and the incredible durability. Whether you're a hobbyist crafter or a small business owner, DTF transfers can revolutionize the way you decorate apparel. In this guide, I'll share everything I've learned from countless trials and errors, so you can avoid the pitfalls and achieve professional results from the start.
What Are DTF Transfers?
DTF stands for Direct to Film. It's a printing method where your design is printed onto a special PET film using water-based inks, then coated with a hot-melt adhesive powder. Once the powder is cured, the transfer is ready to be applied to fabric using a heat press. Unlike DTG (Direct to Garment) printing, which requires pretreatment and works best on 100% cotton, DTF transfers can adhere to almost any fabric: cotton, polyester, blends, even nylon and leather. This versatility is a game-changer for anyone who works with diverse materials.
Why Choose DTF Transfers Over Other Methods?
There are several compelling reasons to consider DTF transfers for your next project:
- No color limitations: Unlike HTV, you can print full-color, photographic-quality images with gradients and fine details.
- No weeding required: Say goodbye to the tedious process of cutting and weeding vinyl. DTF transfers arrive ready to press.
- Works on multiple fabrics: From 100% cotton to 100% polyester, and even stretchy materials like spandex, DTF adheres beautifully.
- Durability: When applied correctly, DTF prints withstand dozens of washes without fading, cracking, or peeling.
- Cost-effective for small batches: No setup fees or minimums, making it ideal for one-off designs or small runs.
In my experience, DTF truly shines when you need a detailed, multi-color design on a dark polyester garment, a scenario where other methods often fall short.
How to Apply DTF Transfers: A Step-by-Step Guide
Applying DTF transfers is straightforward, but attention to detail is key. Here's the process I've refined over many trials:
1. Prepare Your Workspace and Materials
You'll need a heat press (not an iron, as consistent pressure and temperature are crucial), a lint roller or lint-free cloth, and your DTF transfer. Ensure your garment is clean, dry, and free of wrinkles. I always pre-press the garment for a few seconds to remove moisture and wrinkles, which helps the transfer adhere evenly.
2. Set the Heat Press Parameters
Temperature and time can vary depending on the film and powder used, but a good starting point is 325°F (160°C) for 15 seconds with medium to firm pressure. Always check the instructions provided by your transfer supplier, as some recommend different settings. I keep a notebook with settings for each brand I try; it saves time and reduces waste.
3. Position and Press
Place the transfer on the garment with the printed side facing up. If your transfer has a clear carrier film, you'll press it directly. If it's a cold peel, let it cool completely before peeling; for hot peel, remove the film immediately after pressing. I prefer cold peel for intricate designs because it allows the adhesive to set fully, resulting in crisper edges.
4. Peel and Post-Press
After peeling, I always do a second press with a Teflon sheet or parchment paper for about 10 seconds. This step, often called a "post-press," ensures the transfer is fully embedded into the fabric fibers, boosting durability. Trust me, skipping this step can lead to premature peeling.
Common Mistakes to Avoid with DTF Transfers
Even seasoned crafters can stumble. Here are the mistakes I see most often, and how to sidestep them:
- Insufficient pressure: Without enough pressure, the adhesive won't bond properly. Invest in a good heat press; it's worth every penny.
- Wrong temperature: Too hot and the film may melt or the ink may scorch; too cool and the adhesive won't activate. Use an infrared thermometer to verify your press's actual temperature.
- Peeling too soon or too late: Follow the peel type specified. If unsure, test on a scrap piece first.
- Ignoring fabric type: While DTF works on many fabrics, stretchy fabrics require a stretchable DTF film for best results. I learned this the hard way when a transfer on a spandex blend cracked after a few wears.
DTF Transfers vs. Other Printing Methods: A Quick Comparison
To help you decide if DTF is right for your project, here's how it stacks up against common alternatives:
- DTF vs. HTV: HTV is great for simple, single-color designs and is cost-effective for large runs. DTF excels with complex, multi-color images and requires no weeding.
- DTF vs. DTG: DTG is ideal for 100% cotton and offers a soft hand, but it requires pretreatment and can be less vibrant on dark colors. DTF works on more fabrics and often yields brighter colors.
- DTF vs. Screen Printing: Screen printing is unbeatable for large quantities of the same design, but setup costs are high. DTF is perfect for small batches and personalized items.
For my business, DTF has become the go-to for custom orders because it balances quality, versatility, and cost.
Tips for Long-Lasting DTF Prints
To ensure your DTF prints survive the wash cycle, follow these care instructions:
- Wait 24 hours after application before washing.
- Turn the garment inside out.
- Wash in cold water on a gentle cycle.
- Avoid fabric softeners and bleach.
- Tumble dry low or hang dry.
I also recommend washing DTF-printed items separately for the first wash to prevent any potential color transfer.
Frequently Asked Questions About DTF Transfers
Can I use DTF transfers on dark and light fabrics?
Yes, DTF transfers work on both dark and light fabrics. The white ink layer in the transfer ensures that colors pop on dark garments, while on light fabrics, the white layer may be omitted or reduced for a softer feel.
How durable are DTF transfers?
When applied correctly, DTF transfers can last as long as the garment itself. They resist cracking, peeling, and fading through numerous washes. Proper application and care are key to longevity.
Do I need a special printer to make DTF transfers?
You can create DTF transfers at home with a dedicated DTF printer and curing oven, but for most crafters, purchasing pre-made transfers from a supplier is more practical and cost-effective. Many suppliers offer custom transfer services with no minimum order.
What is the difference between hot peel and cold peel DTF transfers?
Hot peel transfers are peeled immediately after pressing while the transfer is still hot. Cold peel transfers must cool completely before peeling. Cold peel generally provides better detail and adhesion for intricate designs.
Can I stretch DTF transfers on athletic wear?
Yes, but you need to use a stretchable DTF film designed for performance fabrics. Standard DTF transfers may crack when stretched. Always test on a scrap piece before applying to the final garment.
With these insights, you're ready to dive into the world of DTF transfers. Remember, practice makes perfect. Start with a few test pieces, dial in your heat press settings, and soon you'll be producing vibrant, durable prints that impress. Happy printing!